The post Baklava {A flaky, nutty, buttery treat!} appeared first on A Mouse In My Kitchen.
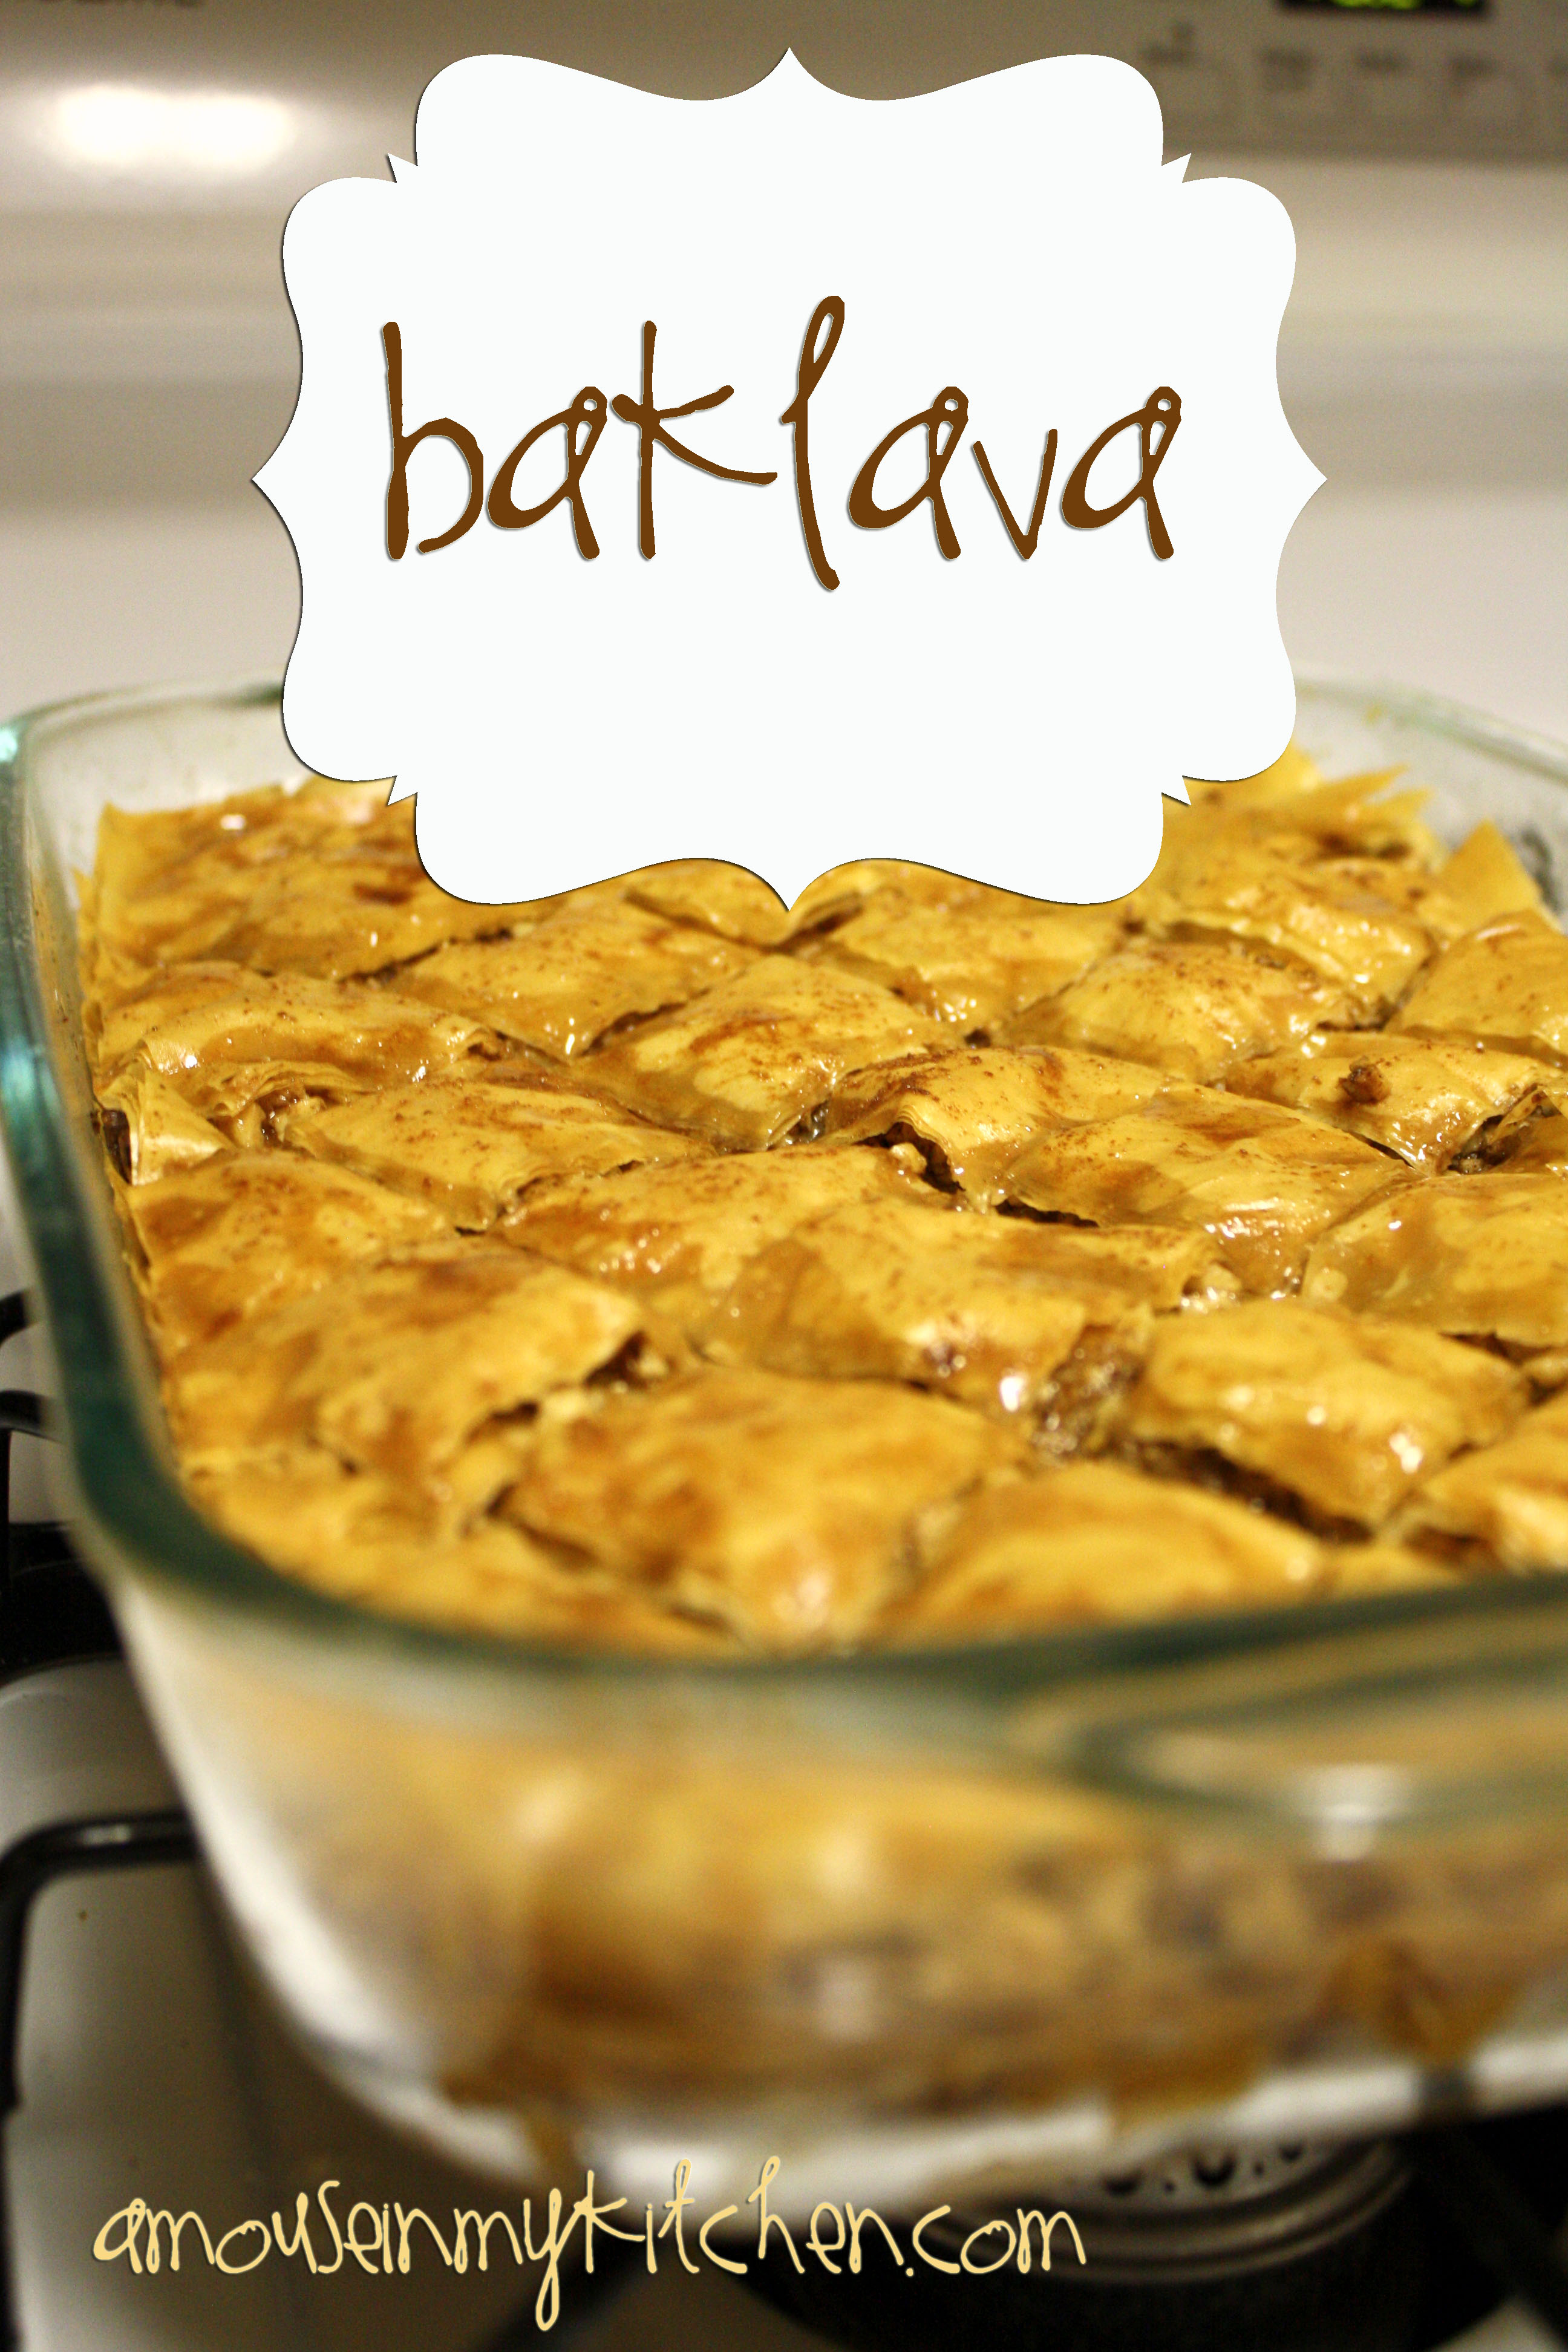
]]>
I brag about my husband… a LOT. He is the most amazing person ever. I love him so! Seriously, He is my best friend, and I don’t know how I ever got so lucky to have him. 
How does that tie in with my baklava recipe? He is the one who first introduced me to this scrumptious dessert! I hadn’t ever heard of it, and I was asking him one day when we were newlyweds, if he had any ideas of desserts I could make. He said “Baklava??
If you don’t know what Baklava is, it is basically phyllo sheets, with melted butter layered with nuts and spices, and a sweet and sticky honey cinnamon sauce baked on top, sounds like a good idea huh?
We tried a new recipe and liked it a lot, but needed to tweak it a bit. So, We found another recipe and kind of blended the two {Hint, hint, we used extra butter, teehee} So here is a dessert that my husband and I have changed just to our liking {and hopefully yours, too!} I do have to warn you, this takes a bit of time to assemble. It’s not hard, it just takes a bit of time, maybe enlist your husband and or kids, and make it a fun thing you can do together while listening to music and talking Making treats is one of my favorite things to do with my husband and kiddos.
Note: Phyllo if you don’t know what it is, is basically really thin sheets of pastry dough. You will find it in the frozen section of your grocery store. {ask an employee if youre still not sure! Make sure for this recipe to get the full sheets, and not the squares Let me know if you still need some guidance!}
Here is a little breakdown of what you need ta do…
 You start out by layering a sheet of phyllo with butter {I know off to a good start already! I love butter…} You do this seven times {so phyllo, butter, phyllo, butter, phyllo, butter…. seven times, haha you get the idea And after every seven layers, you add a nut, cinnamon, salt mixture. And you do this until you are out of your salt mixture, and out of your phyllo! {Takes a bit of time, but it’s worth it, I swear!}
Then you cut diagonally first all from the left side, and then across coming from the right side. Then bake for 40 minutes.
 After the 40 minutes you pour on the syrup you prepare earlier, and let it soak in for a good while… And after waiting patiently, your precious baklava is ready for consumption!
So without further ado, our favorite Baklava recipe.

- 1 Cup Sugar
- 1 Cup Honey
- 3/4 Cup Water
- 1 TBSP Fresh lemon juice
- 2 Cinnamon Sticks
- 1 TBSP Whole Allspice
- 1 Pound Walnuts {or a combination of your favorite nuts! We love, pistachios, walnuts & almonds}
- 1 tsp. ground cinnamon
- 1/4 tsp Salt
- 1 1/2 Cups {3 sticks} salted Butter
- 1 pound Phyllo Sheets {Thawed according to package directions}
- For the syrup: Combine the Sugar, Honey, Water, lemon juice, cinnamon sticks, and allspice in a medium saucepan {stirring occasionally} and cook over medium heat until the sugar has dissolved. Reduce heat to medium-low until the mixture turns into a syrup {around 10 minutes}. Remove the cinnamon sticks and remaining allspice and discard. Set aside and let the syrup cool.
- Chop the nuts {or put them in a food processor for an even finer chop!} :) Add Salt, and cinnamon and stir well.
- Melt the butter over low heat in a saucepan.
- Next, coat a 9x13 pan with some of your melted butter {using a pastry brush}
- Open your box of phyllo sheets and make sure they fit your 9x13 pan, if not cut them to the correct size and throw away the extra. {Note: I like to put a damp towel on top of the phyllo sheets waiting to be used, if they get to dry, they break really easily! You want them a bit moistened so that they don't fall apart so easily while you use them!}
- Next, you are going to layer! This is the time consuming part, but I PROMISE it is worth it! Start by layering a sheet of phyllo dough, and brushing on a layer of butter on top. Do this seven times {you will have seven sheets} and then add 3/4 cup of your nut mixture spread evenly across. Repeat until you have used up all of your nuts, and top with remained phyllo sheets. {and don't forget to butter every single layer!}
- Next, using a non-serrated knife, cut diagonally across the baklava {carefully} and again diagonally the opposite direction.
- Bake at 350 degrees for 40 minutes. Remove the Baklava from the oven and let cool for a few minutes, then drizzle the syrup mixture as evenly as possible over the cooked baklava. Let sit overnight or 6-8 hours before serving. And be amazed with the dessert you have just created!
- {You can definitely try this as soon as the syrup is poured on, however, letting the baklava soak in all of the syrup-ey goodness, is definitely a good idea, it just makes it so that the syrup gets more evenly distributed even down to the very bottom of the dish! Just sayin'! :)}
The post Baklava {A flaky, nutty, buttery treat!} appeared first on A Mouse In My Kitchen.
]]>The post Cream Drop Biscuits appeared first on A Mouse In My Kitchen.
]]>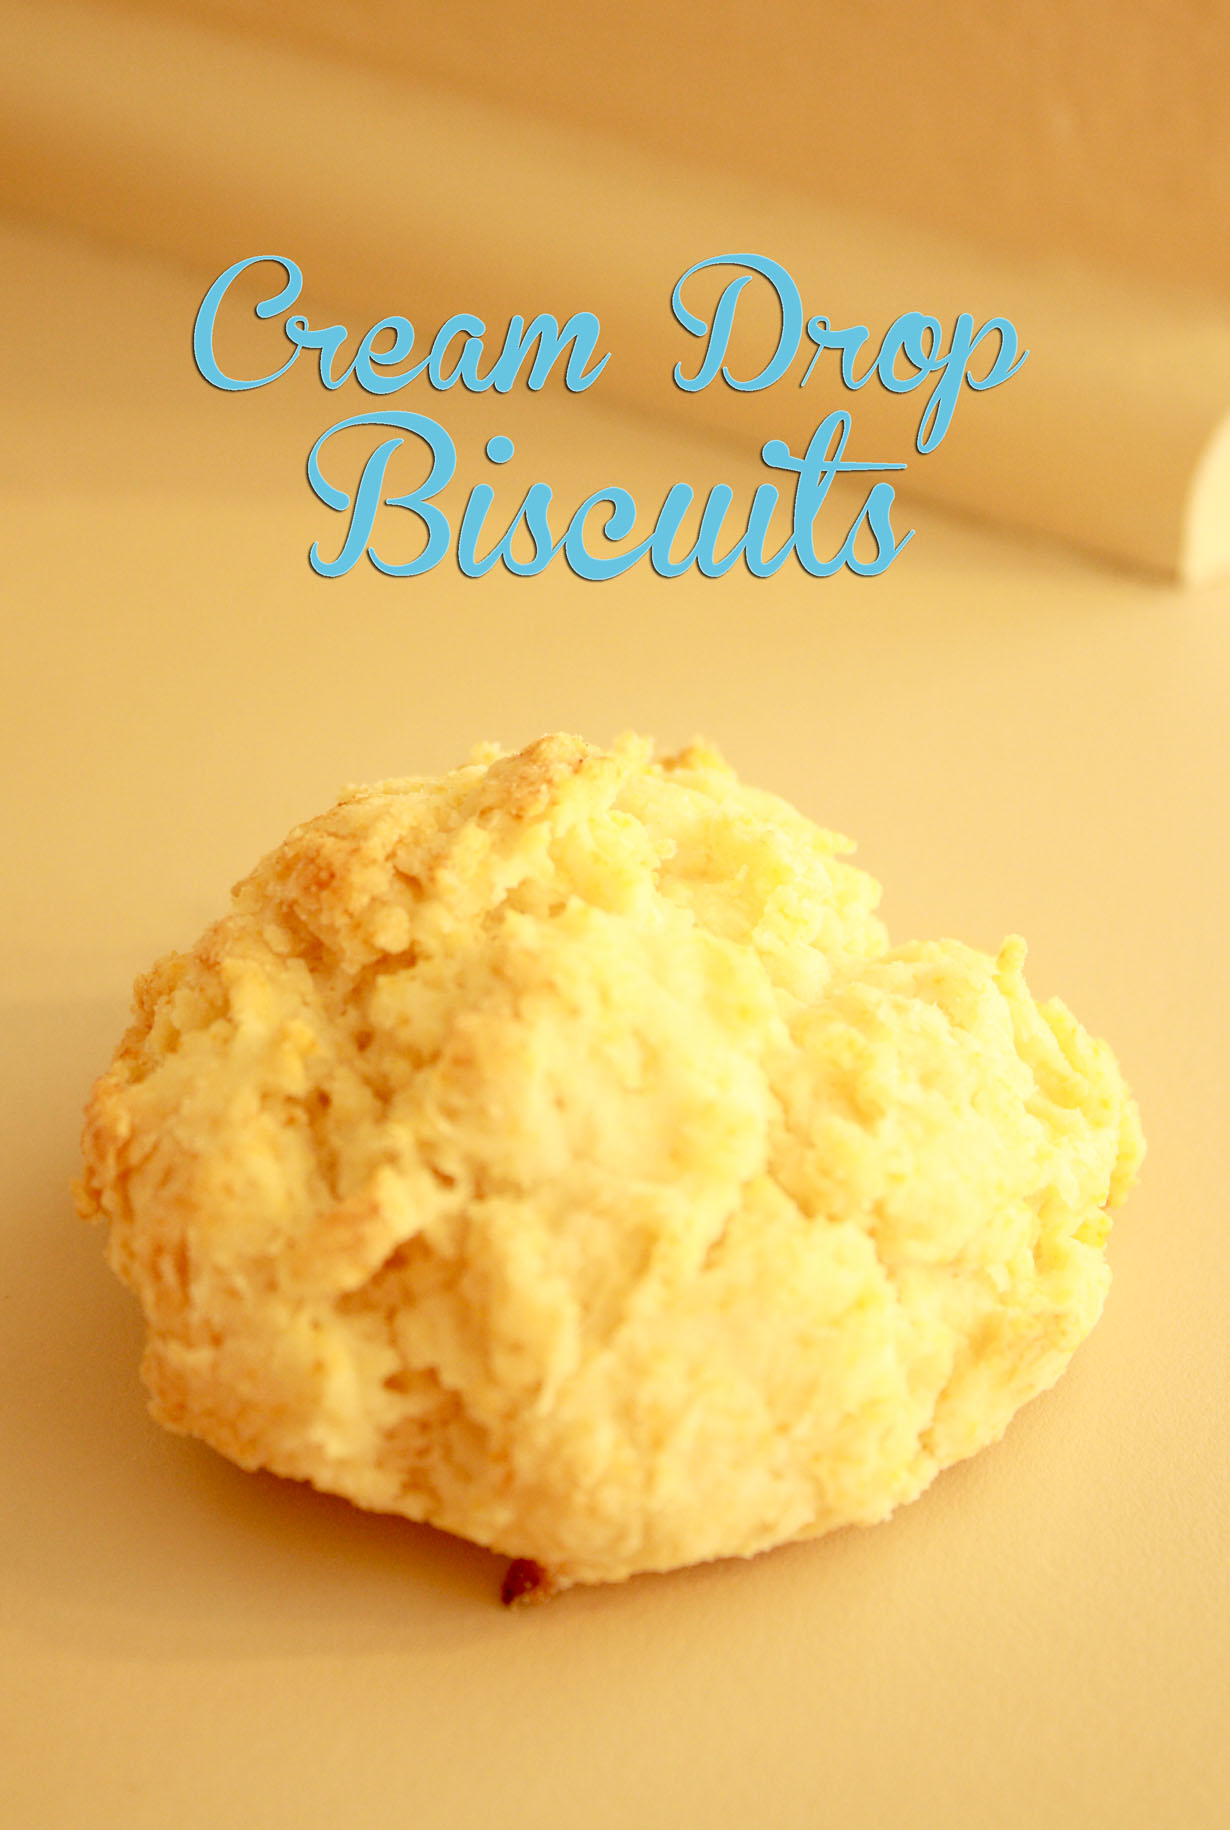 I am so stoked to share this with you! This recipe is the first recipe I remember I made and became my own. I have always been interested in cooking, and my Mother, and Grandmother are incredible cooks, and I always hoped some of that came through. They taught me in highschool and my Mom and I came up with this recipe, and it was the first one that only I could make perfectly, have you ever had one of those? One where you just HAD to make it, or they didn’t turn out quite right? Well, this is my first one of those I perfected it and served it and gobbled it down. These biscuits come together SO quickly, literally ten minutes or so, and another 15 minutes to cook. They are super simple and really the only thing you need to remember is to not over-mix, and to not over cook. I hope you love them as much as I do!
- 2 1/2 Cups Flour
- 1 TBSP Baking Powder
- 1 tsp salt
- 1 TBSP Sugar
- 2 Cups Chilled Heavy Cream
- 1.Preheat your oven to 400 degrees.
- 2.Combine dry ingredients and mix well.
- 3.Gradually add the cream and mix until combined {sometimes, I use my hands!} But DON'T overmix.
- 4. Drop 1/4 Cup servings on an ungreased cookie sheet.
- 5. Bake until tops are pale and golden. {15-20 minutes}
- Note: I know the time on this is broad, but depending on where you live, and how your oven works, you really need to watch the biscuits. They will be done with you see the top beginning to brown, you can almost smell the done bread smell, you know?
Let me know if you have any questions!
Traci
Share
The post Cream Drop Biscuits appeared first on A Mouse In My Kitchen.
]]>The post Recipe 5: Spicy Coconut Baked Chicken Tenders appeared first on A Mouse In My Kitchen.
]]> . I really love their cook book. A lot of the recipes seem like they are going to be hard, but end up being super easy. Anyway, in their cookbook, there is a recipe called Coconut Chicken Fingers. I modified that a little to make these. These were easy and quick and they taste awesome. They took less than 30 minutes to make and then they cooked for 20. My husband is always trying to get me to deep fry breaded chicken, something I am not a huge fan of (mostly because I ALWAYS get burned). These are a good alternative and I don’t have to deal with the hot oil.

So your first step is to put foil on a pan and spray it with some kind of non stick spray. Set it aside, but keep it some what handy. Preheat your oven to 450 F.
 |
| Breading mixture (before it was actually mixed) |
Next, mix the coconut flakes, bread crumbs, and spices in a shallow dish. The cook book suggests chopping the coconut to be the same size as the bread crumbs but… I didn’t. And it was fine.
Put the flour in a second dish and the eggs in a third one. Whisk the eggs.

 Take your chicken tenders and place them in the flour. Cover each side with flour. Then, put them in the egg dish. After you cover them in the eggs, put them in the breading mixture and roll them around making sure they are covered in that. Lay them flat on your baking sheet.
In order to make them more crunchy, I drizzled them in olive oil as the book suggested.
I stuck them in the oven for 15 minutes. My chicken tenders were pretty small, so they were done at 15, if yours are big it might take longer. They should be golden brownish when they are finished.

The post Recipe 5: Spicy Coconut Baked Chicken Tenders appeared first on A Mouse In My Kitchen.
]]>