The post Best Way To Cook Green Beans appeared first on A Mouse In My Kitchen.
]]>Welcome to week 10 of the 100 mile summer! Only two weeks left after this one! Are you going to make it? 100 miles is a LONG distance! Good job if you’ve made it this far. If you’re a little behind, or starting late, keep going! You can do it!
Remember that when you talk about the 100 mile summer on social media, use the hash tag #100milesummer so we can all cheer each other along!
Each week Traci or I have been sharing weight loss tips or healthy recipes with you. I’m really excited to share this one with you today.
My husband does NOT like to eat vegetables. I have had to try lots of different things to find ways to cook them where he will actually eat them. This one was a HUGE hit. Bonus – it was really easy.

These green beans aren’t even fried in bacon grease (although my husband said he would like it better if they were…)
- Green beans
- 2 tablespoons olive oil
- garlic salt
- Parmesan cheese with red peppers
- Heat your oven to 350.
- Wash your green beans and cutting off the ends.
- Lay the green beans on top of a piece of tin foil on a baking sheet.
- Spread just a little bit of olive oil over the top of the green beans
- Sprinkle the green beans with garlic salt
- Wrap the tin foil around them
- Bake for 20 minutes
- Open tin foil (it will be hot!) and sprinkle Parmesan cheese over them.
- Enjoy!
- If you just have regular Parmesan cheese, use a red pepper seasoning in addition to the cheese. If you don't have that, omit it. It still tastes good. The peppers just add a little kick.
The post Best Way To Cook Green Beans appeared first on A Mouse In My Kitchen.
]]>The post Week 8 of the running challenge & a delicious sandwich recipe appeared first on A Mouse In My Kitchen.
]]>
Welcome to week 8 of the running challenge! If you’ve been keeping up, by the end of this week you’ll be 2/3 of the way done (time wise) with you 100 mile summer challenge. You should have run a total of 53.5 miles so far. Good job if you’re keeping up! If you’re not, don’t worry! Just keep on keeping on and you’ll reach your goal in no time. Just don’t give up!
Remember if you are participating in this challenge, use the hash tag #100milesummer when talking about it so we can all keep up on how everyone is doing!
Each week, either Traci or I try to share some kind of running tip or recipe. Our most popular one (by far) has been this post by Traci on how to love running, even if you hate it. Be sure to check it out if you’re having a hard time with this challenge!
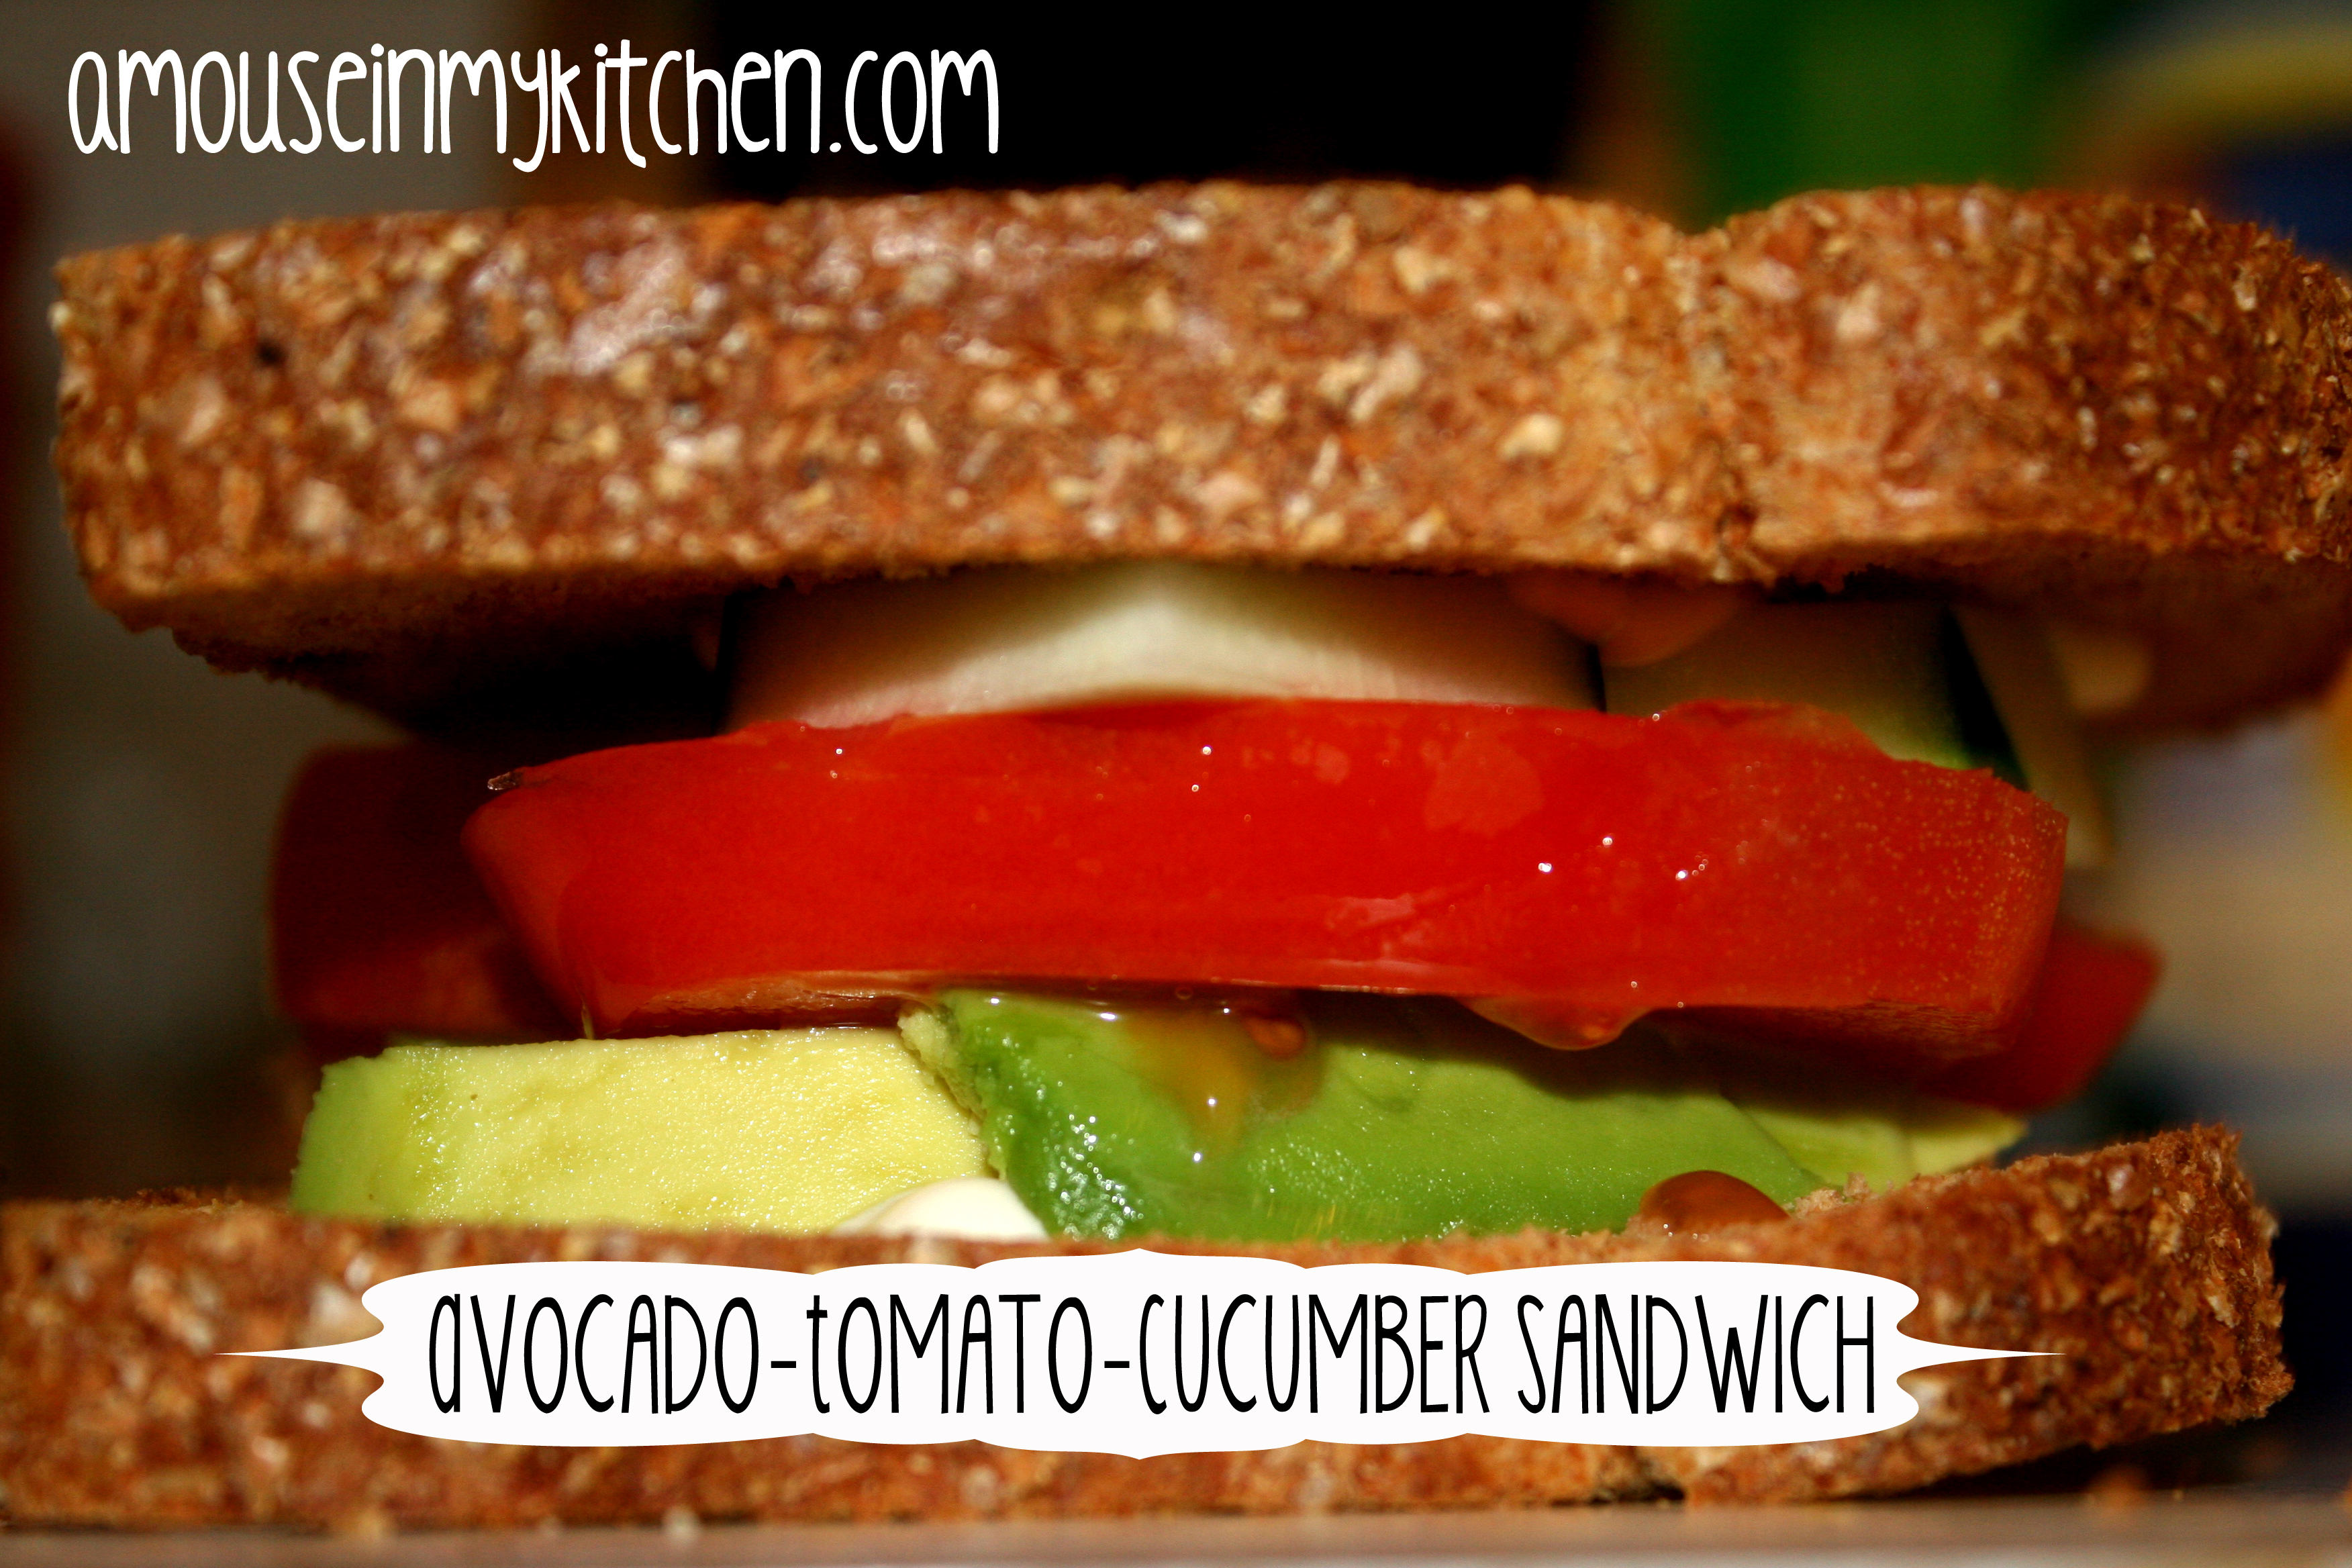
This week, I’m going to share my favorite ever sandwich with you guys. It’s delicious and easy to make, and super good for you!
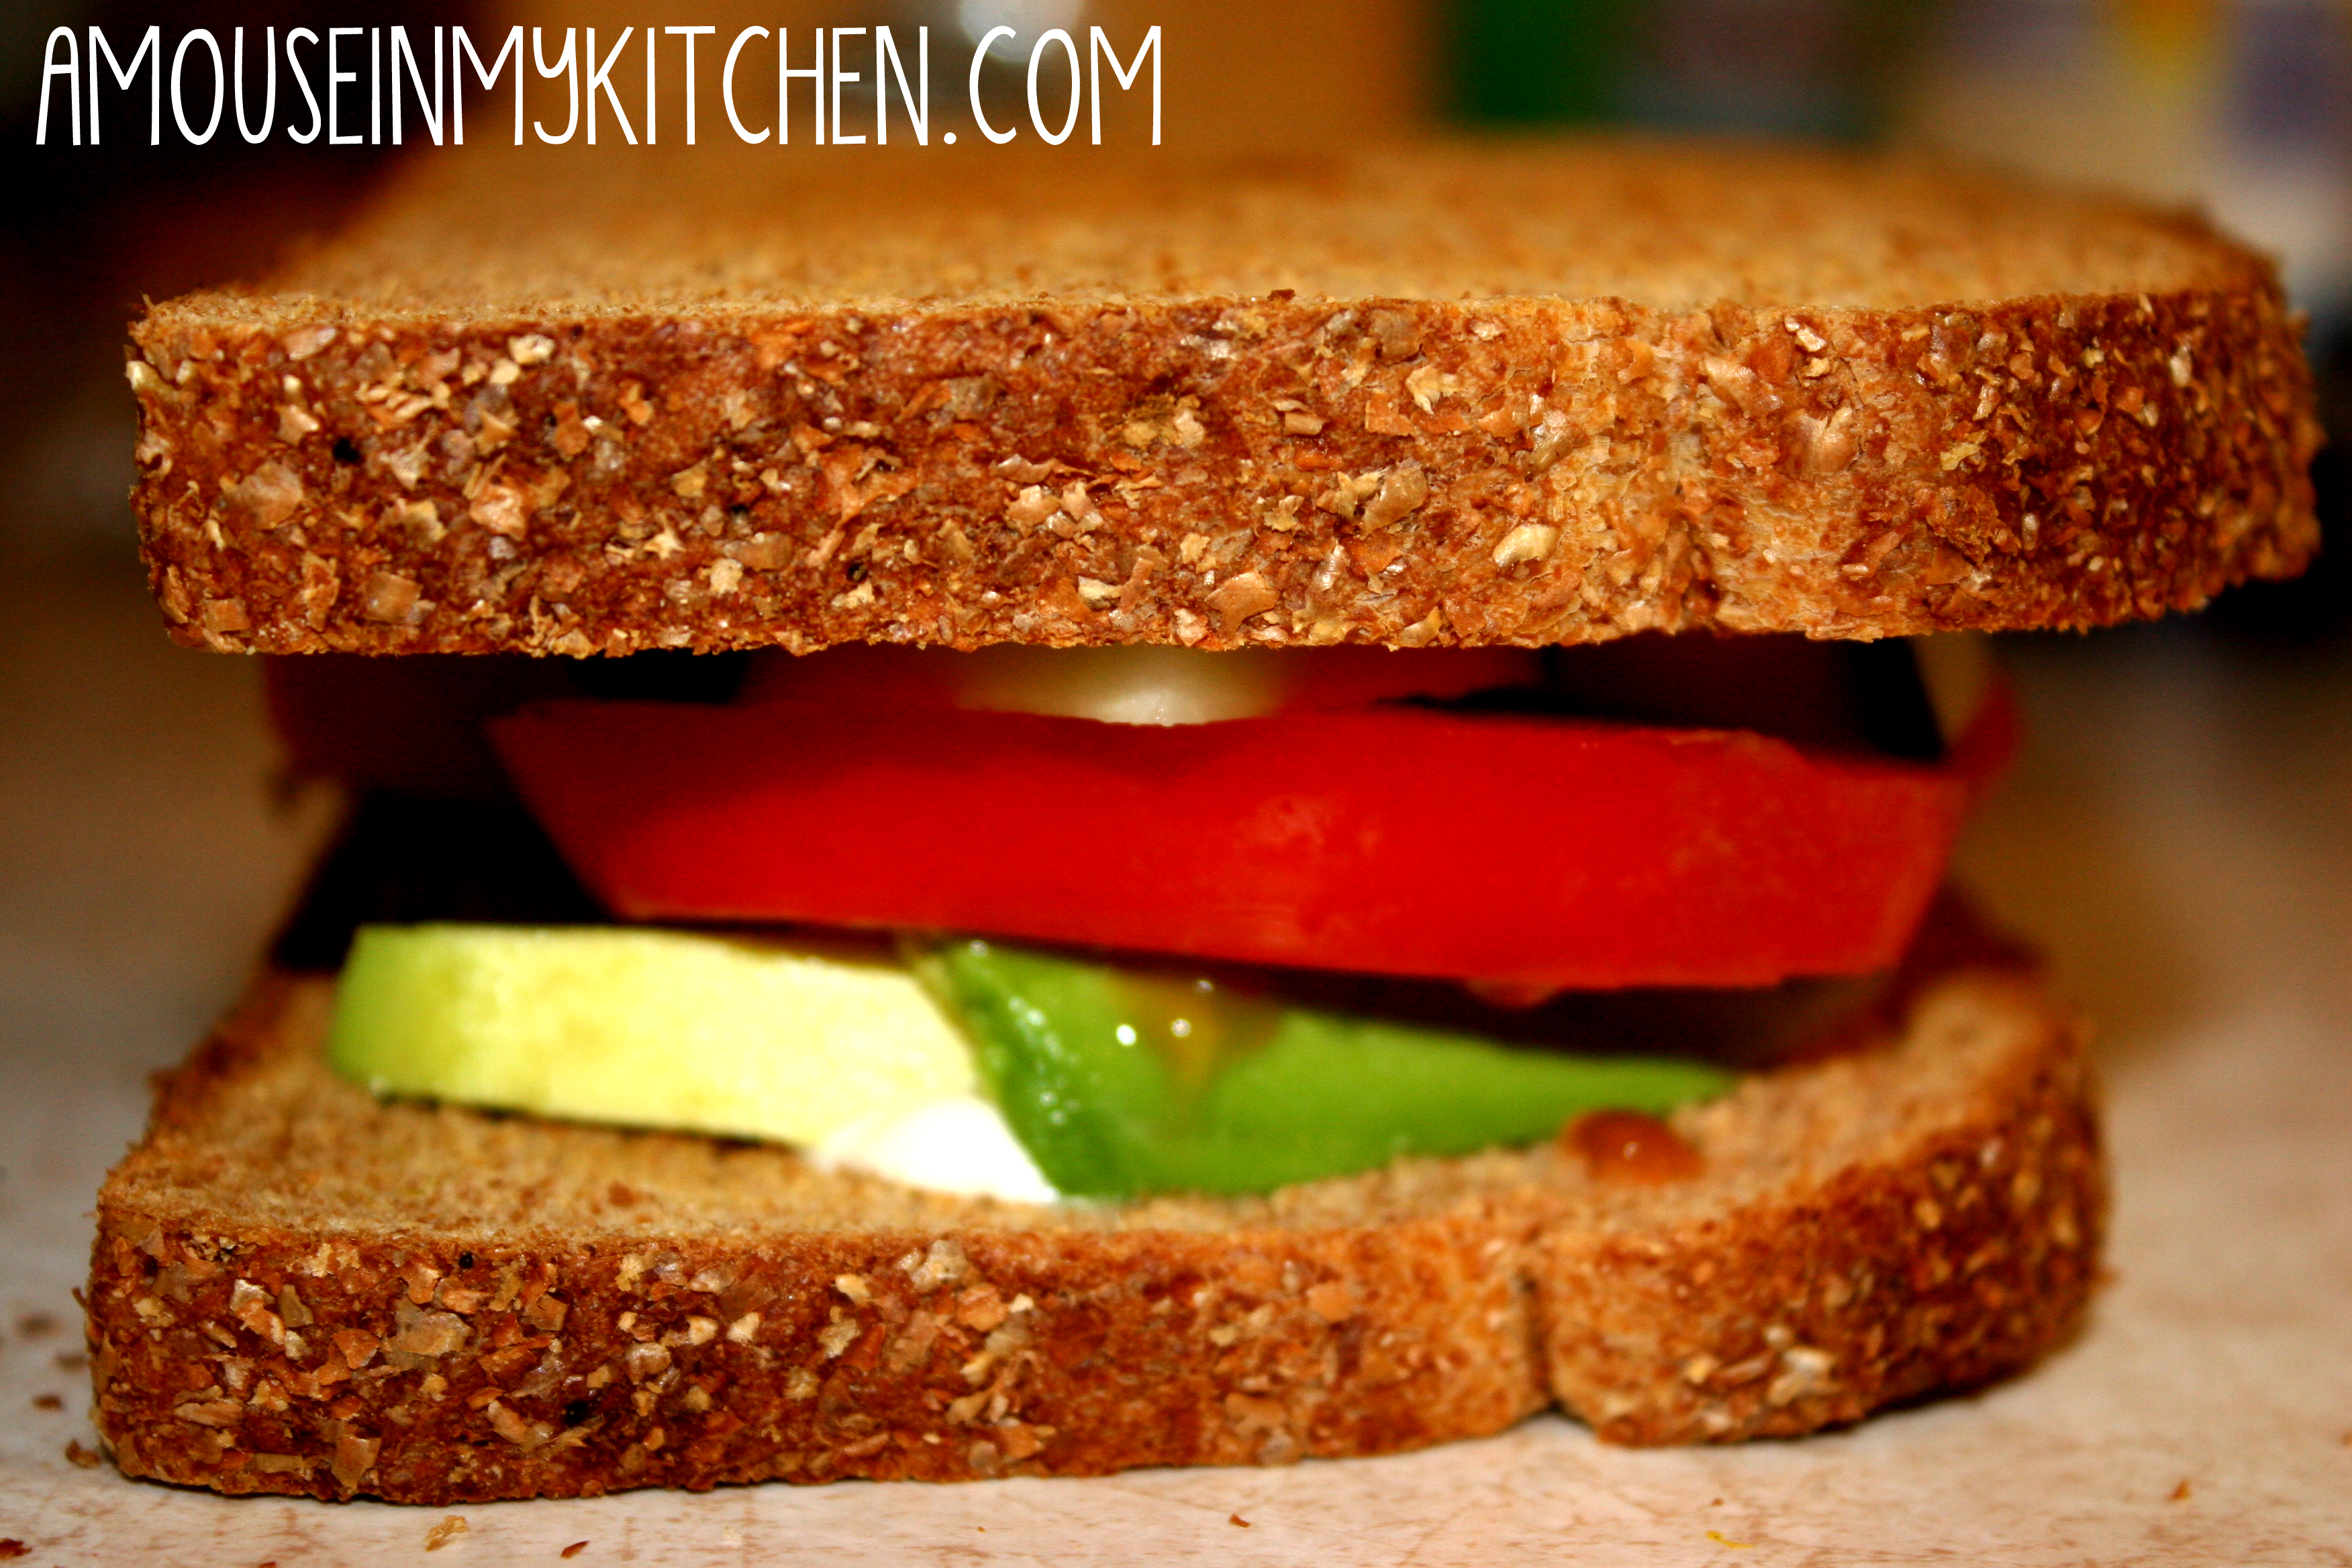
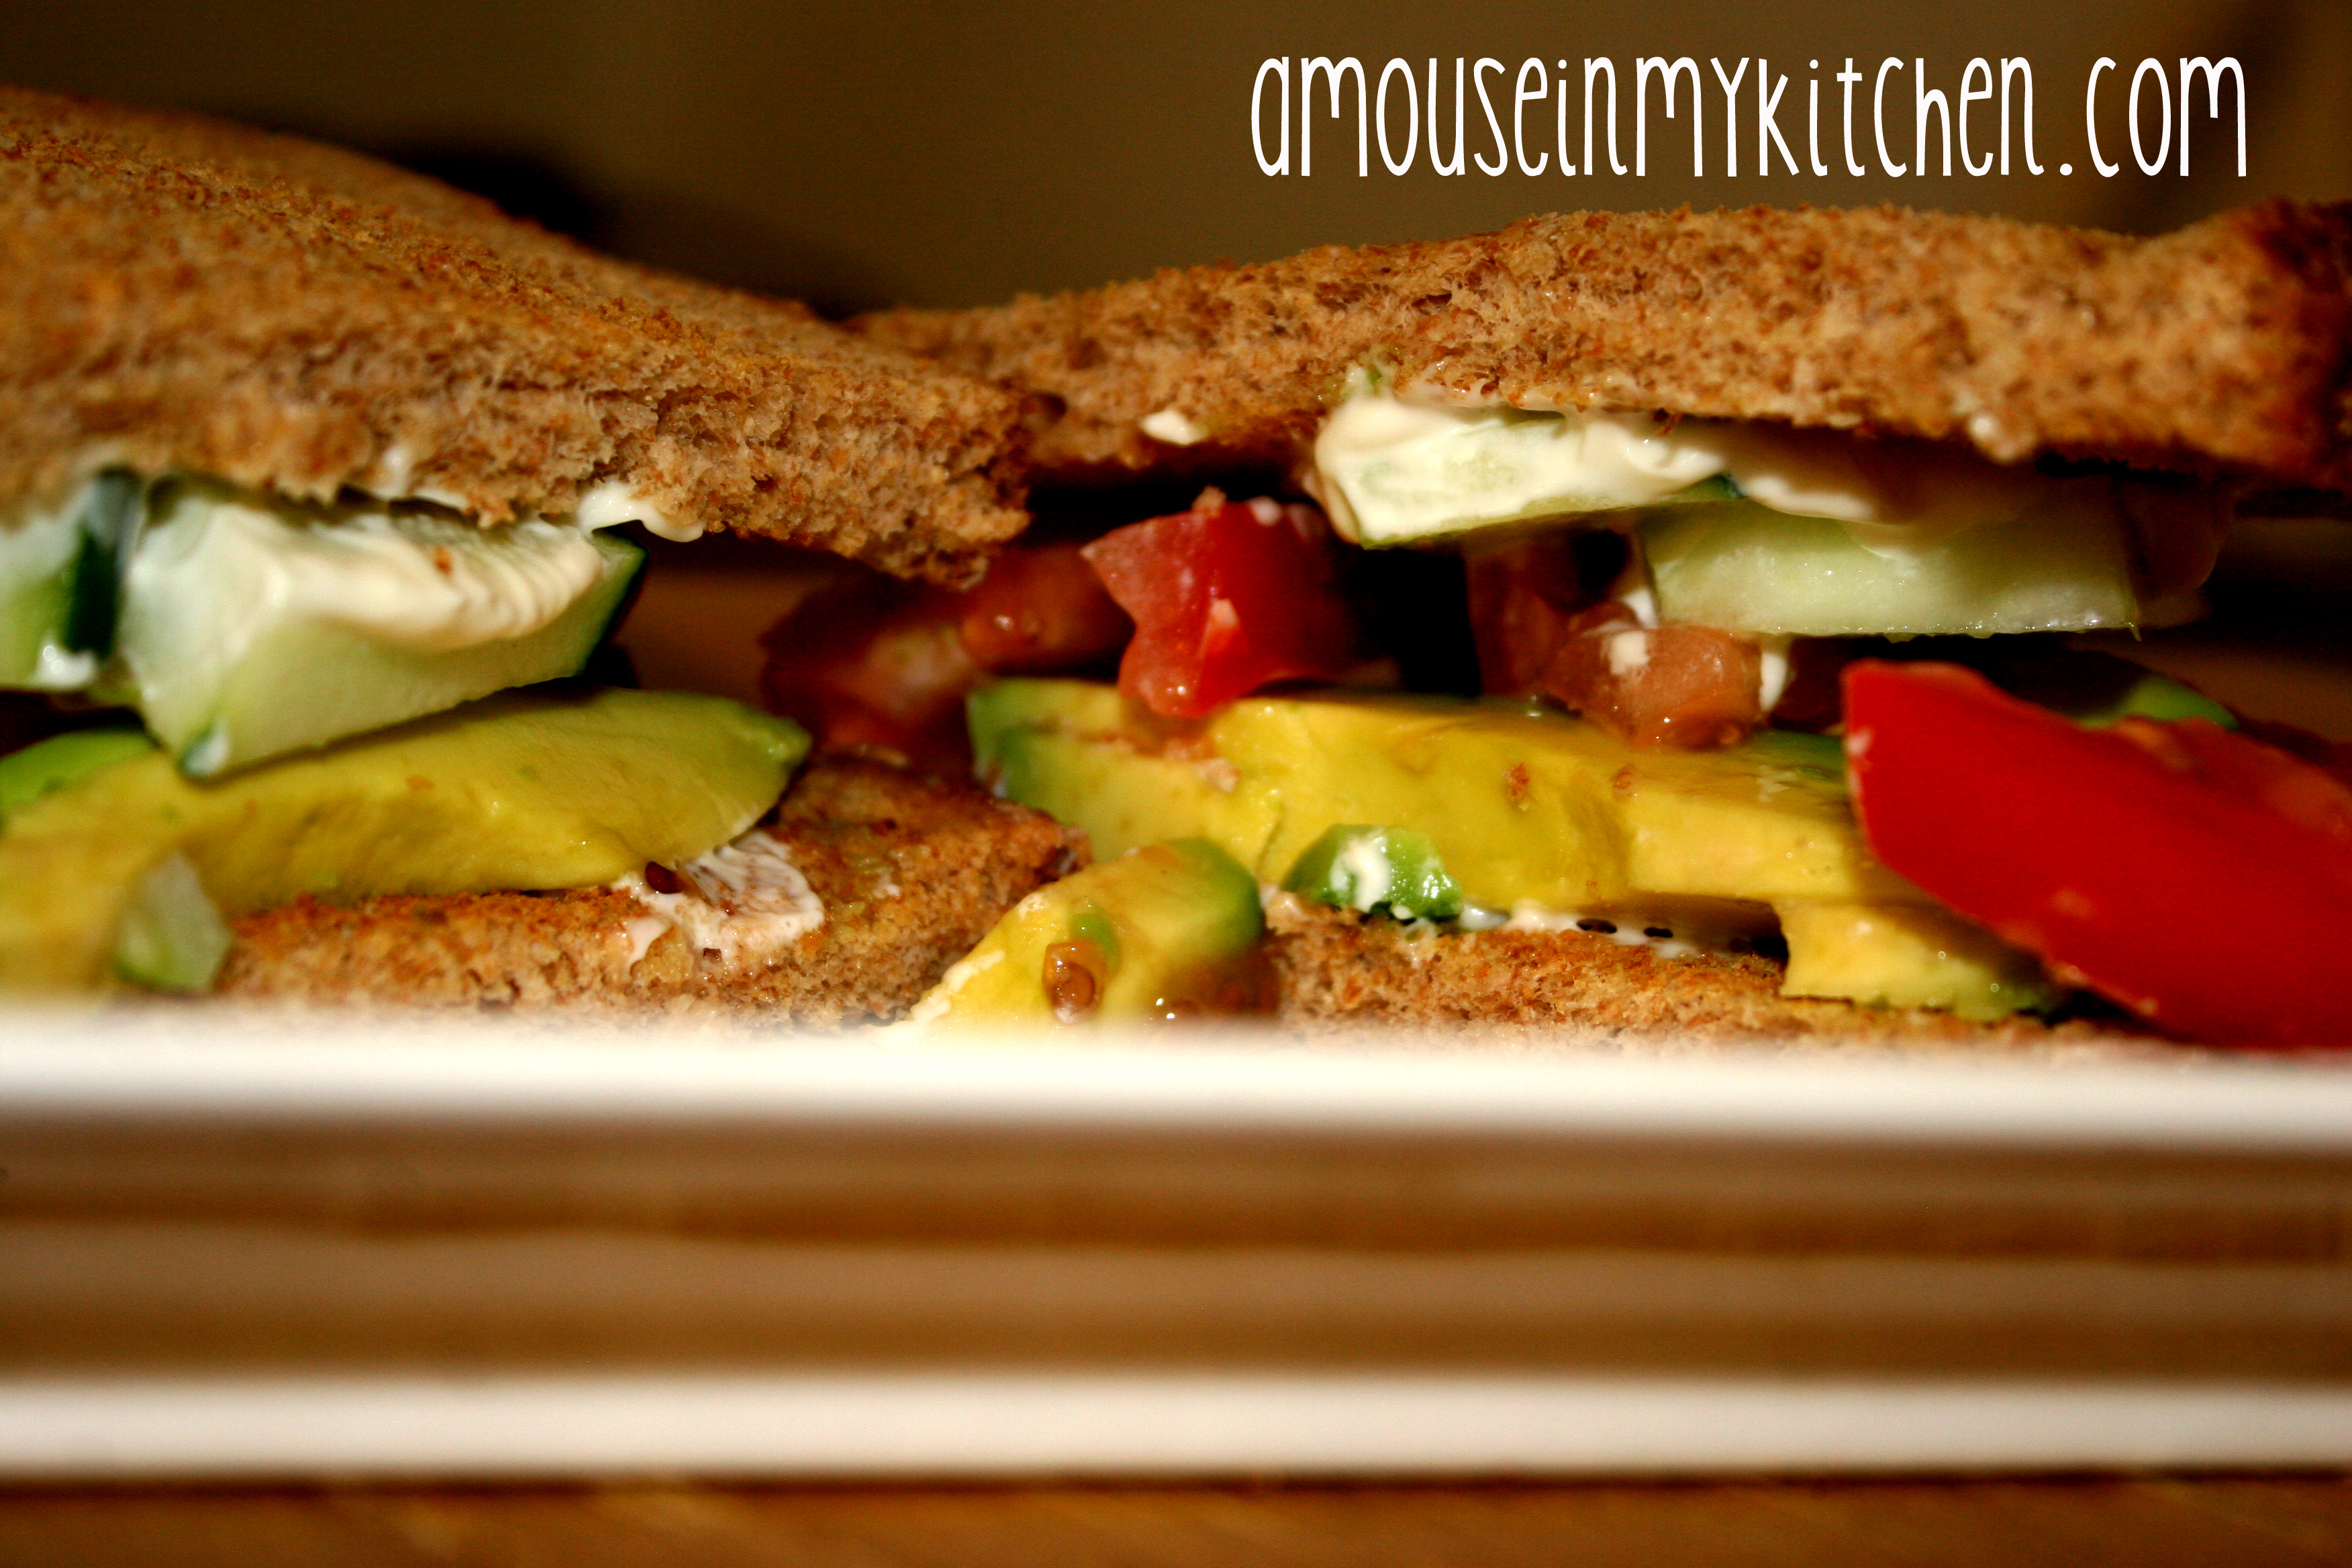
Just look at these pictures if you don’t believe me about how delicious it is.
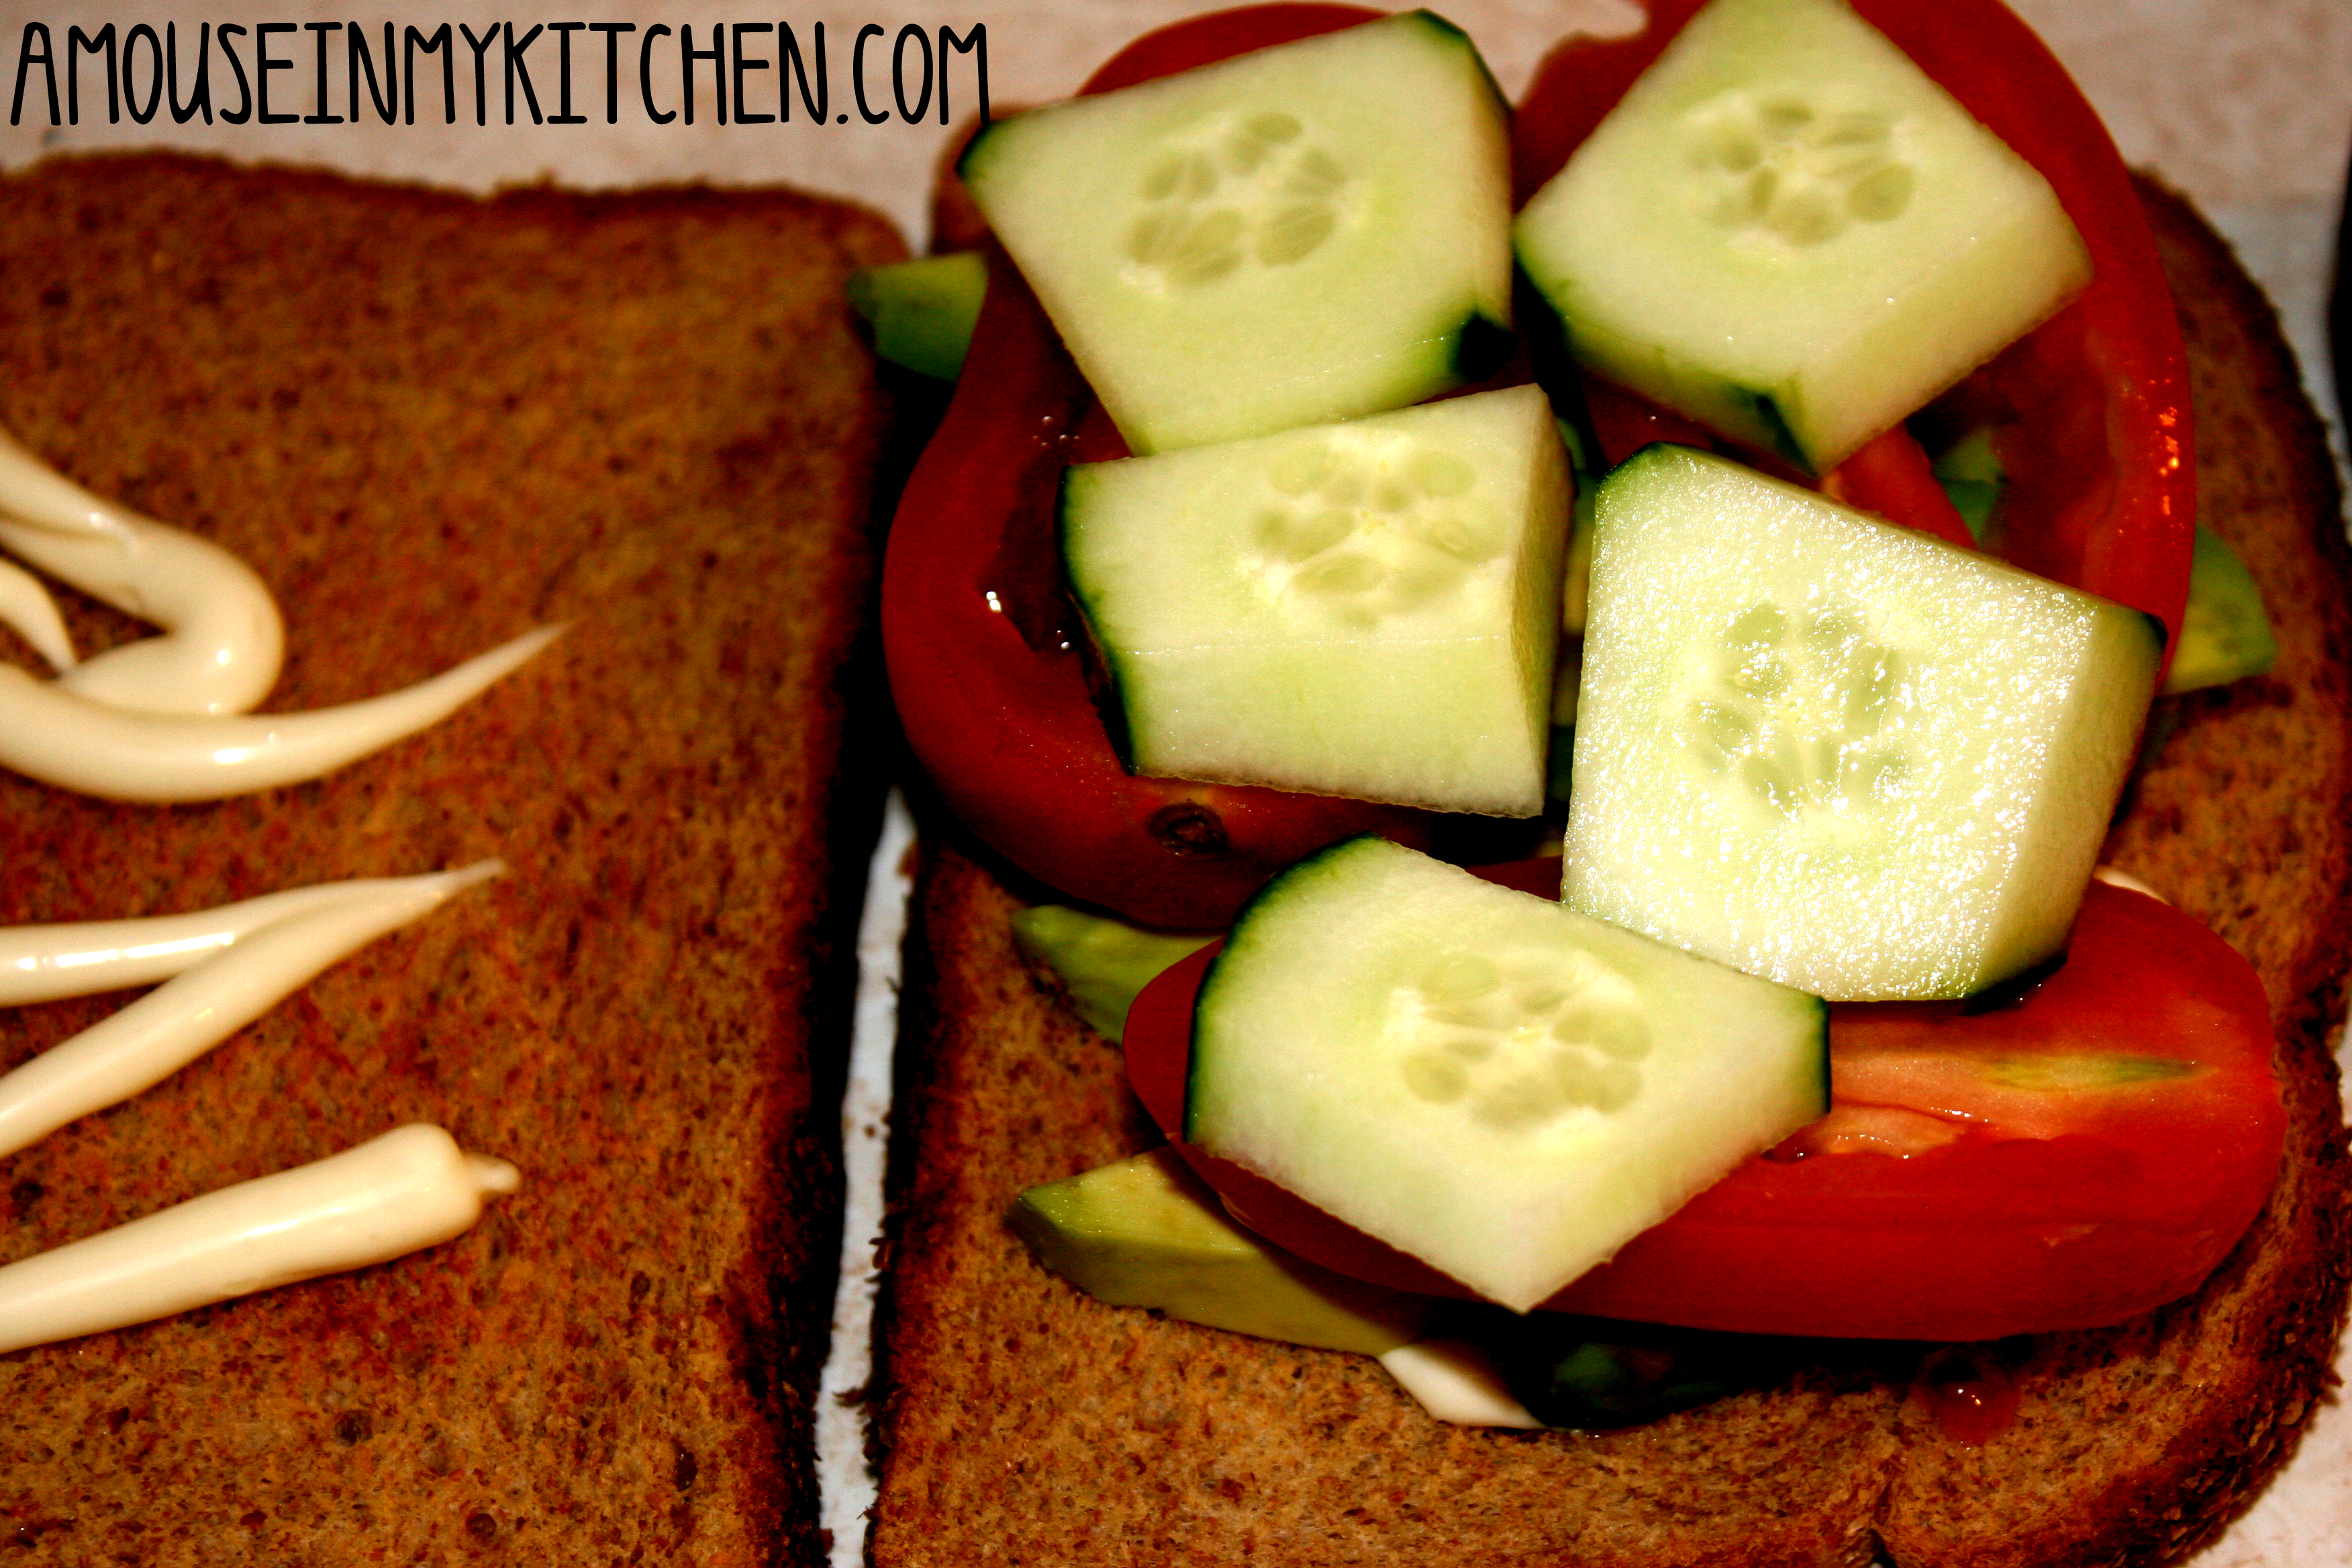
- 2 pieces of bread
- 1/2 avocado
- 1 tomato
- 1/2 cucumber
- mayonnaise
- Toast your bread
- skin the avocado and cucumber
- cut the avocado, tomato, and cucumber into flat pieces
- Spread mayonnaise on the bread
- Layer vegetables on bread and close sandwich
The post Week 8 of the running challenge & a delicious sandwich recipe appeared first on A Mouse In My Kitchen.
]]>The post Recipe #7: Enchilada Casserole appeared first on A Mouse In My Kitchen.
]]>
This recipe is kind of my own invention. It started out as one thing and ended up as something completely different. I love it because it a whole meal in one dish (thus the word casserole, right?) I also really like that I can do most of the prep before dinner time (nap time cooking anyone?) and just stick it in the oven 30 minutes before we want to eat. The other thing I like about this (and any kind of enchilada type recipe) is that it is super easy to customize to your liking. I usually make it with chicken, but we had chicken yesterday so I am using hamburger.
1/2 cup water
Heat your oven to 350 F.
First step is to cook your noodles according to package directions. Funny story. I honestly have no idea what the pasta that I used is called. There is this awesome lady in our ward that gave us a bunch of her old food storage and she gave us this bag of pasta, but it wasn’t in the box anymore. But they looked neat. If anyone knows what they are, please let me know, I’m curious. Once the noodles are done, drain them and place them in a greased casserole dish.
While the pasta is cooking, cut up your green pepper and onion. I used a green pepper that I had previously cut up and froze (super good tip by the way). Saute them in olive oil until they are soft (10 minutes or so).
Once the green peppers and onion are soft, put the hamburger and seasoning in your pan. I am using my Lodge Color Skillet
 Pour your cooked meat mixture over your pasta. Pour the remaining enchilada sauce over the top. Add about half of your cheese and mix the contents of the pan. Cook for 20 minutes. Put the remaining cheese on it and cook another 5 minutes, until the top cheese is melted.
Let it cool for about 10 minutes.
I like to eat this dish with avocados and salsa and sour cream mixed in.
And for the record, I think the mouse is now living in our attic. Or maybe it’s a cat. I’m not sure which.
ShareThe post Recipe #7: Enchilada Casserole appeared first on A Mouse In My Kitchen.
]]>The post Recipe 5: Spicy Coconut Baked Chicken Tenders appeared first on A Mouse In My Kitchen.
]]> . I really love their cook book. A lot of the recipes seem like they are going to be hard, but end up being super easy. Anyway, in their cookbook, there is a recipe called Coconut Chicken Fingers. I modified that a little to make these. These were easy and quick and they taste awesome. They took less than 30 minutes to make and then they cooked for 20. My husband is always trying to get me to deep fry breaded chicken, something I am not a huge fan of (mostly because I ALWAYS get burned). These are a good alternative and I don’t have to deal with the hot oil.

So your first step is to put foil on a pan and spray it with some kind of non stick spray. Set it aside, but keep it some what handy. Preheat your oven to 450 F.
 |
| Breading mixture (before it was actually mixed) |
Next, mix the coconut flakes, bread crumbs, and spices in a shallow dish. The cook book suggests chopping the coconut to be the same size as the bread crumbs but… I didn’t. And it was fine.
Put the flour in a second dish and the eggs in a third one. Whisk the eggs.

 Take your chicken tenders and place them in the flour. Cover each side with flour. Then, put them in the egg dish. After you cover them in the eggs, put them in the breading mixture and roll them around making sure they are covered in that. Lay them flat on your baking sheet.
In order to make them more crunchy, I drizzled them in olive oil as the book suggested.
I stuck them in the oven for 15 minutes. My chicken tenders were pretty small, so they were done at 15, if yours are big it might take longer. They should be golden brownish when they are finished.

The post Recipe 5: Spicy Coconut Baked Chicken Tenders appeared first on A Mouse In My Kitchen.
]]>The post Recipe 4: Honey and Oat Bread appeared first on A Mouse In My Kitchen.
]]>I love making bread. There isn’t really anything that compares to the smell and taste of home made bread. My husband loves it, I love, my kids love it. I used to just follow the recipe in Better Homes and Gardens New Cook Book: Food Gifts from Your Kitchen (Better Homes & Gardens Plaid)

The first step is to mix 2 1/2 cups of flour and your yeast together in a large bowl. The next thing you do is heat the honey, milk, butter, sugar and salt in a saucepan.
The original recipe says to heat it until its 120 degrees, I just heat it until it all mixes together good and the butter is melted. It should be super hot, just warmish.
So the next thing you do is pour the milk mixture into the other bowl. Now you mix it with an electric beater. As you can see in the picture, I cheat.

I have a Bosch Universal Plus Kitchen Machine
The next step is to add your oats. Just put them in and mix it up.
The next step is to add the rest of your flour in (3 1/4 to 3 3/4 cup more). I have noticed that if I double recipes, I often need more flour than double. Just add flour until it doesn’t feel super sticky. It can be a little sticky, but not very.
This next step is where the mixer comes in handy. If you have one, just turn the speed up to 3 or so and let it kneed for about 8 minutes. If you don’t, take it out of the bowl and kneed it by hand for that same amount of time. After you are done kneeding, lightly grease a bowl and put the dough in it.

Cover and let it rise for 45-60 minutes (the dough should about double in size).
After your 45-60 minutes is up, punch the dough down. This pretty much means exactly what it sounds like. Stick your fist in the middle of the dough and push down. It will feel like you are “letting the air out.” Then pull the dough out of the bowl and divide into two parts. Set it on your counter and cover for another 10 minutes.
After that 10 minutes is up, grease your bread pans.

Your next job is to shape the dough into loaveish (yes, that’s a word, I just made it one) shapes. The cookbook has detailed instructions on how to do this, I just kind of make it into a long bread looking thing and stick it in the pan. Then, cover them yet again and let them sit for another 30 minutes or so, preferably in a warm place. (note the fire)
While they are rising, preheat your oven to 375. When they have finished rising that last time, place the loaves in the over for 35 minutes. As soon as they come out, brush some butter on the top of them. Sometimes I put some herbs on top of them too, but not usually. Sit back and enjoy your master piece.

 Side Note: This bread freezes really good. I have frozen loaves for 2 months at a time. I just put it in a grocery bag and stick it in the freezer. The night before we want to eat it, I pull it out and let it thaw.
This one has a face  –>
–>
The post Recipe 4: Honey and Oat Bread appeared first on A Mouse In My Kitchen.
]]>