The post How To Make A Drop Cloth Rug {for cheap!} appeared first on A Mouse In My Kitchen.
]]>
We just moved into a new house. We got an awesome deal on it. It’s a rental, and it’s rented out as a two bedroom, because there are two bedrooms upstairs, but, there is a HUGE basement. The problem is that the basement was in pretty bad shape when we moved in. One of the rooms has mold in the ceiling, and all the rooms are super dirty. The family room had previously been used as a recording studio… or something. It had layers and layers of fabric (black) on the walls and a stage in the back of it. The room that should have been a bathroom had been transformed to a recording studio that now has cinder blocks piled into it. It’s considered unfinished, but the walls are in. There is just no carpet and no sheet rock on the ceiling in most of the rooms (with the exception of the room with the mold on the ceiling).
One of the rooms downstairs has my washer and dryer in it. It had no working light fixture and it was SUPER dirty. I wish I would have taken before pictures. I had to keep reminding myself how cheap our rent is.
So the previous renters had done nothing with the basement. We decided that we weren’t okay with that. We have all this space, plus the fact that I have to do laundry down there means I spend a LOT of time in it. I am not okay doing laundry in a dark, musky, smelly (and oh boy did it smell) basement.
So we got to work cleaning it. We bought a light fixture and swept… and swept… and swept. It looked a lot better after just a little bit of time.
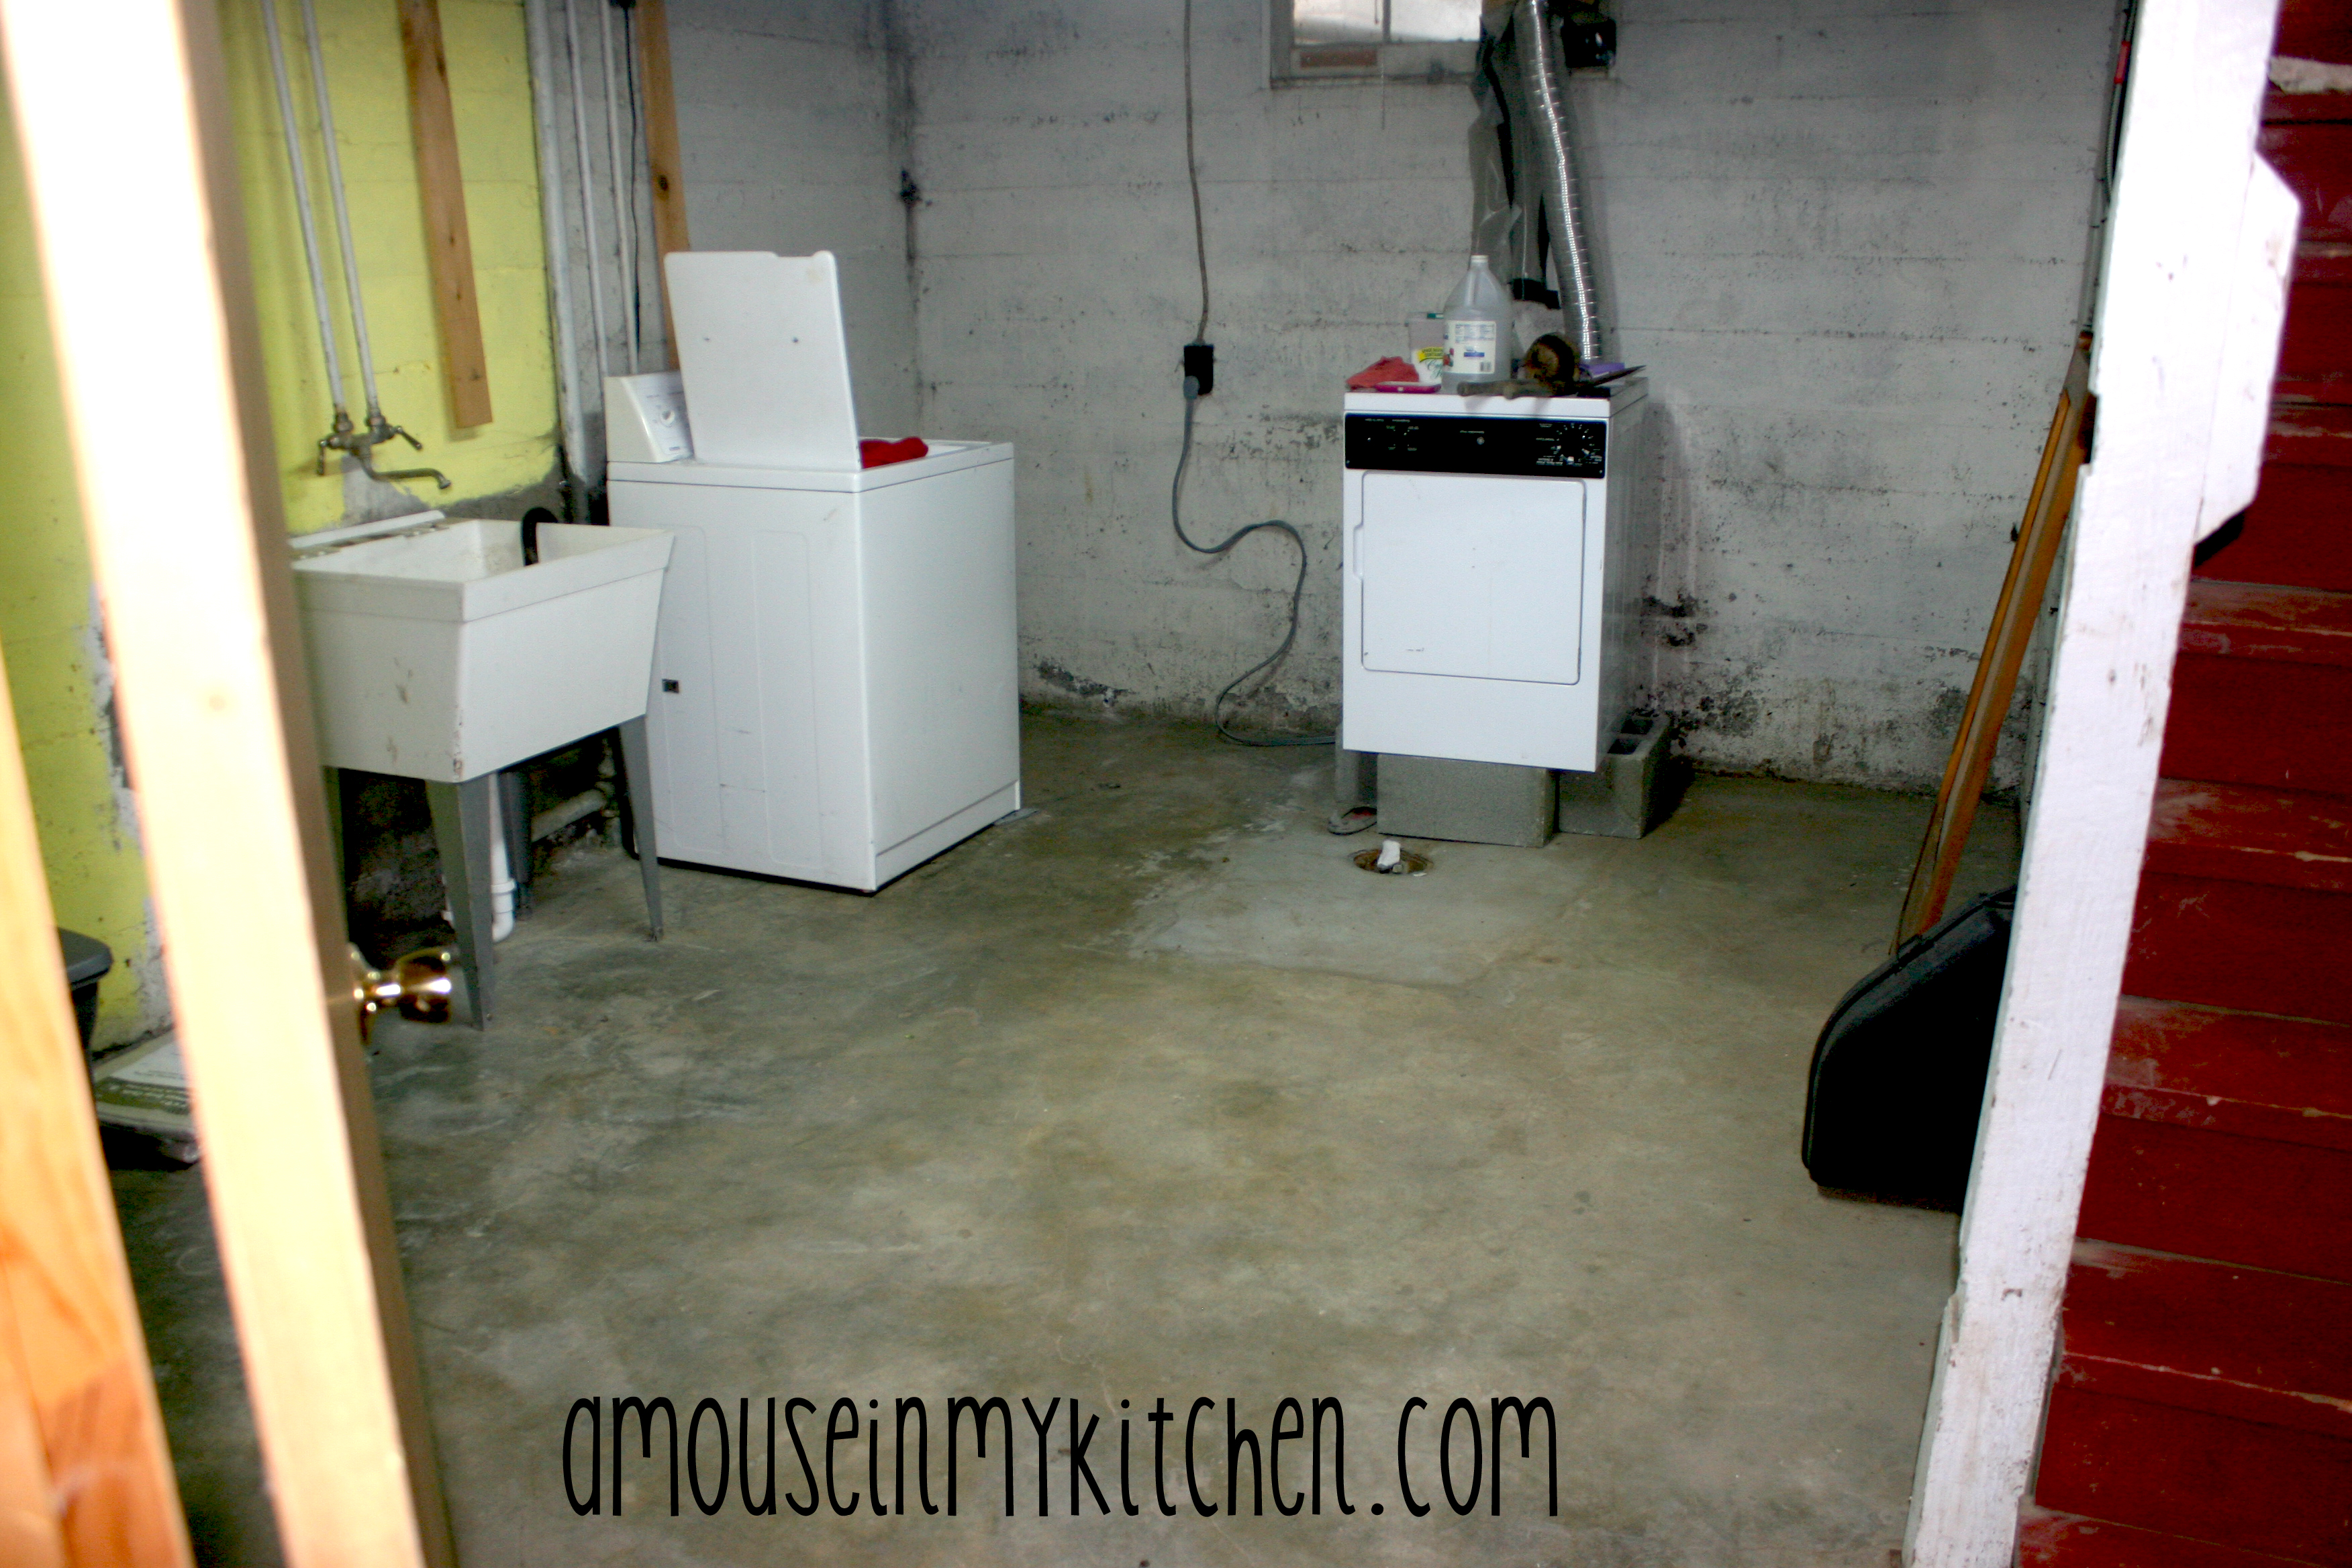
I felt like it was a little bare and that the concrete was a little cold and uninviting. Since I am planning on making that room into a craft room/sewing room, I want it to be pretty! However… I didn’t want to break the bank, so I decided to make a drop cloth rug. I had heard that you could do all sorts of things with drop cloths and I was really excited to test it out.
To make one, you need:
- a painter’s drop cloth
- paint
- a paint brush
- painters tape
So, I went and bought one of these:

I bought this drop cloth for $10 at Home Depot. I wish I would have sprung for the $13 one because it was a little heavier. This one is pretty thin, but it works.
The first thing I did was tape off the pattern. I know this doesn’t look like much of a pattern, but I swear it is. Oh, by the way, I ran out of painters tape at the end and had to use masking tape.. not a good idea. It was way harder to get off.
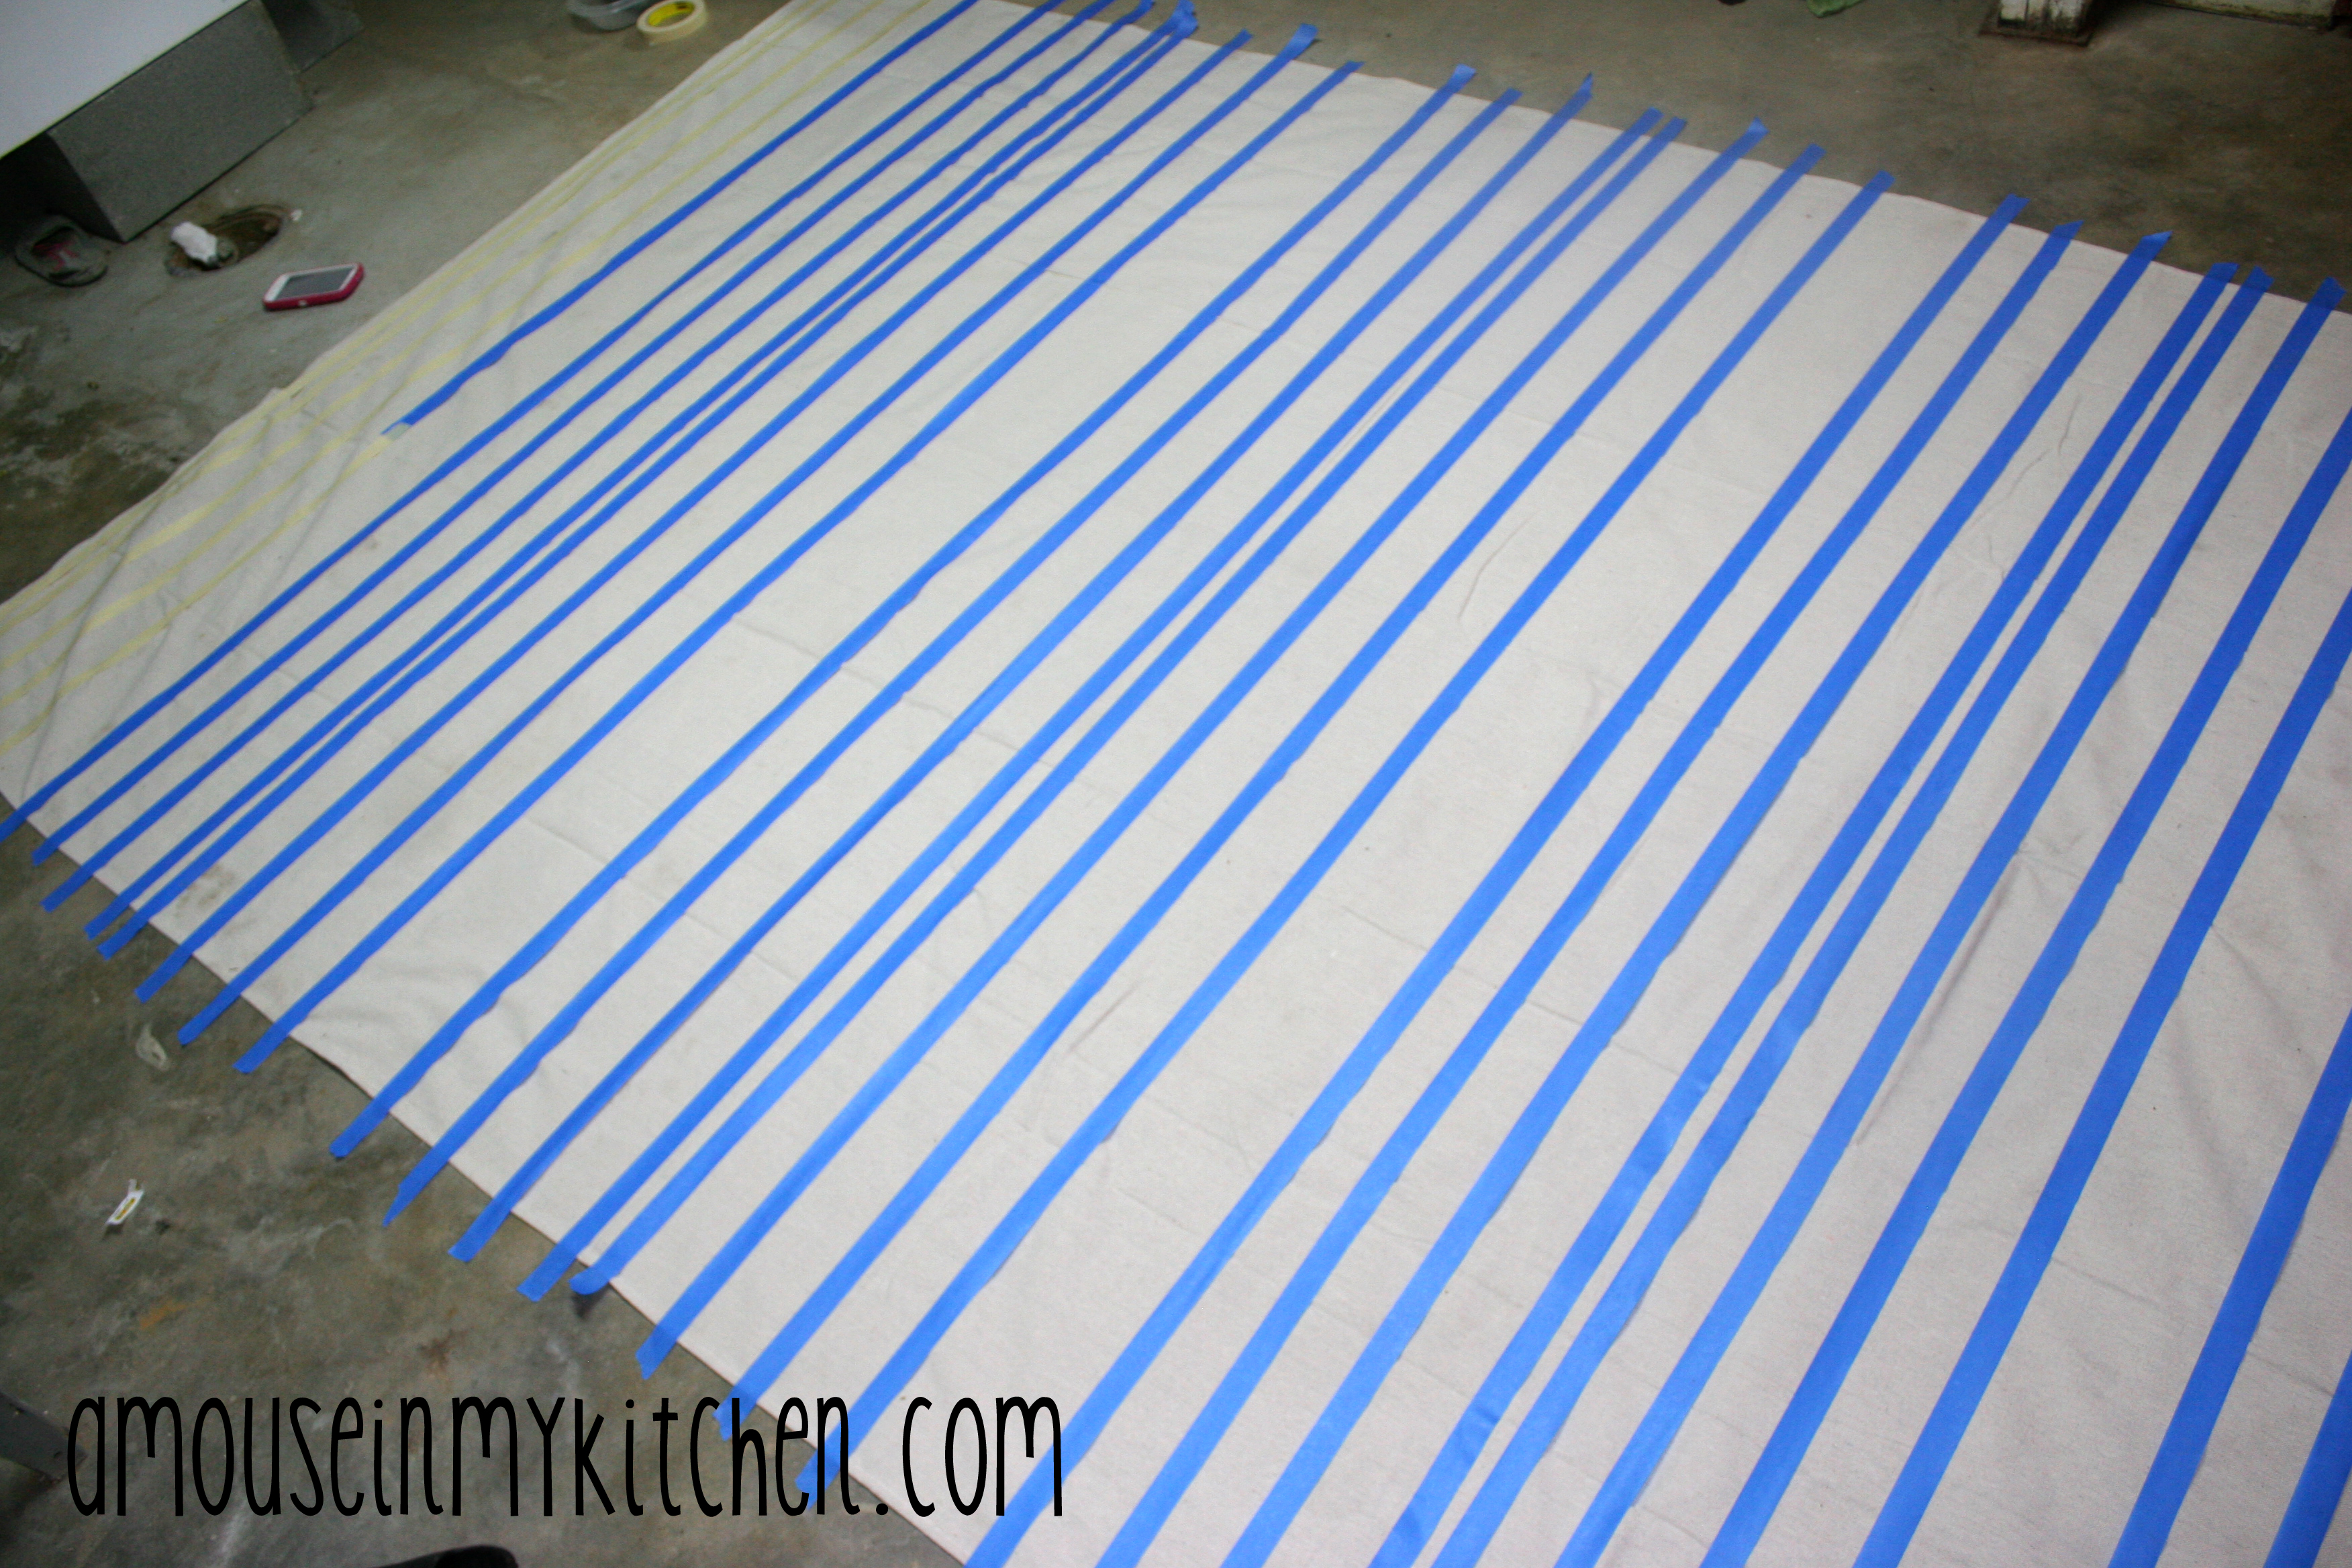
Once I had my pattern all taped out, I started painting. It only took one coat of paint, and for this pattern I used about 2 pints. I actually got the paint for free awhile ago when Ace Hardware did their free quart of paint day.
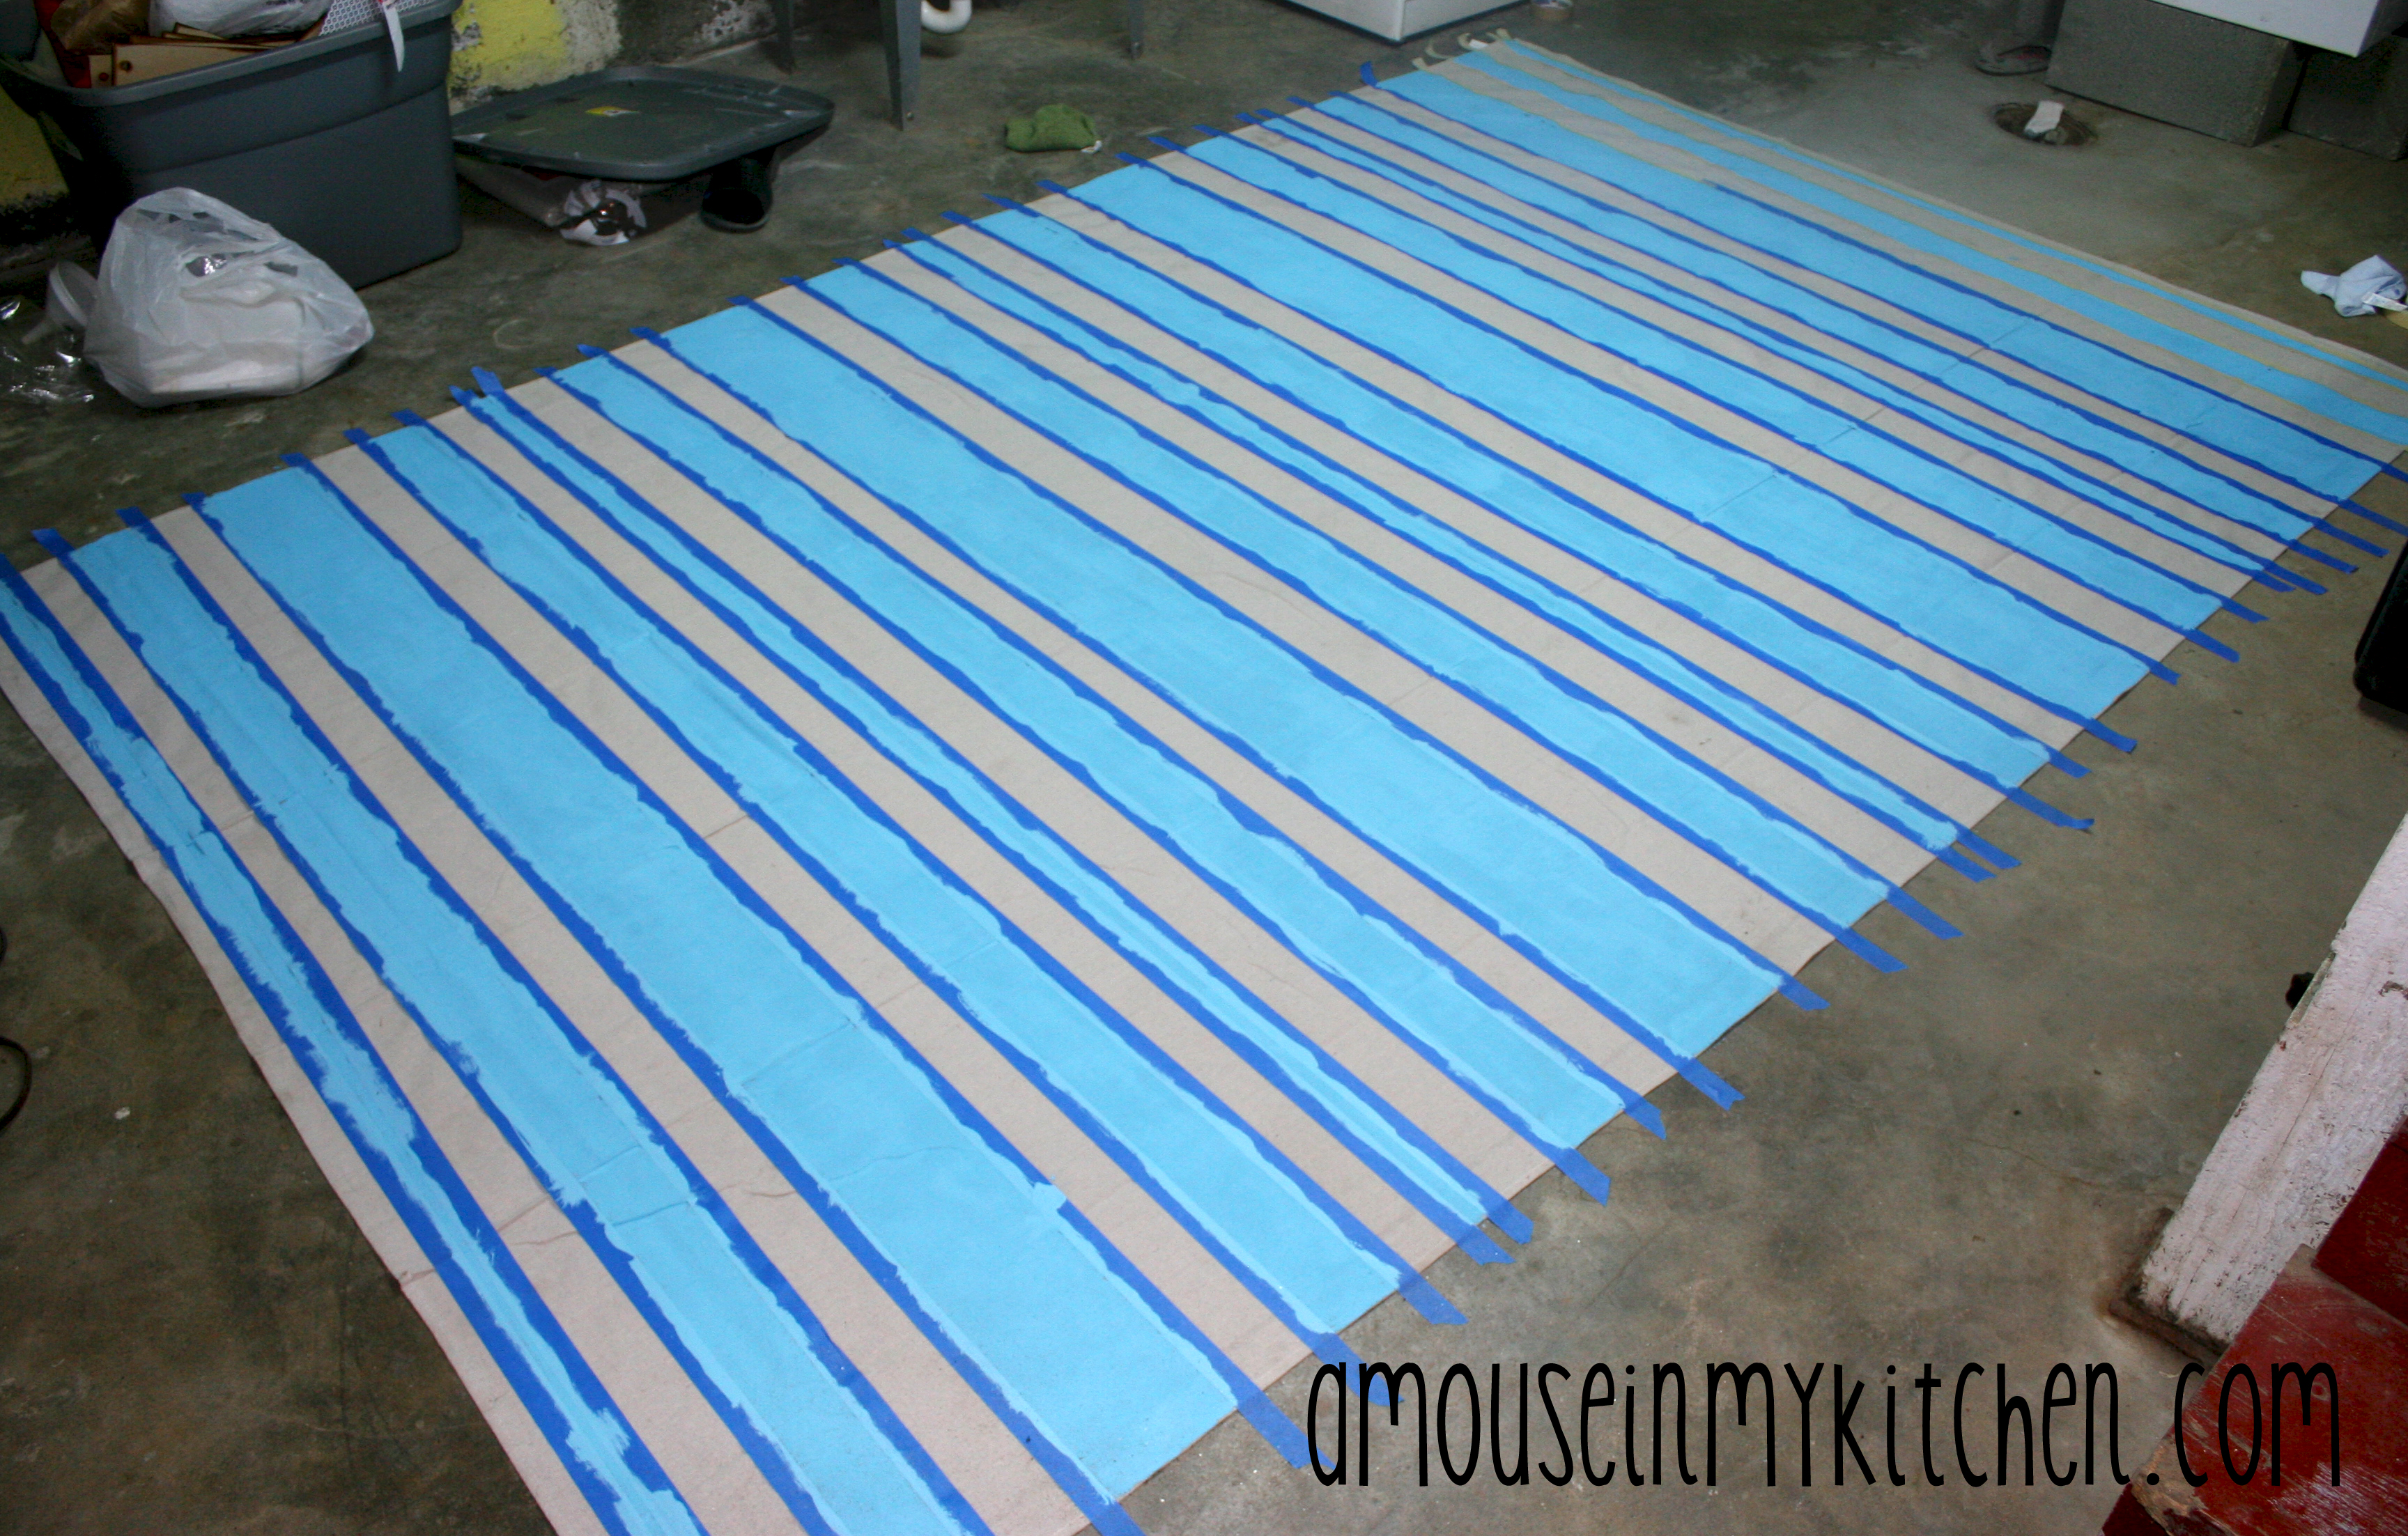
After the paint was dry, I peeled back the tape. Easy enough, right?
I love it because it adds color and it feels better on my feet than the cement. I also love that I only spent $10 on it!
What do you think?

The post How To Make A Drop Cloth Rug {for cheap!} appeared first on A Mouse In My Kitchen.
]]>The post Cream Drop Biscuits appeared first on A Mouse In My Kitchen.
]]> I am so stoked to share this with you! This recipe is the first recipe I remember I made and became my own. I have always been interested in cooking, and my Mother, and Grandmother are incredible cooks, and I always hoped some of that came through. They taught me in highschool and my Mom and I came up with this recipe, and it was the first one that only I could make perfectly, have you ever had one of those? One where you just HAD to make it, or they didn’t turn out quite right? Well, this is my first one of those
  I perfected it and served it and gobbled it down. These biscuits come together SO quickly, literally ten minutes or so, and another 15 minutes to cook. They are super simple and really the only thing you need to remember is to not over-mix, and to not over cook. I hope you love them as much as I do!

- 2 1/2 Cups Flour
- 1 TBSP Baking Powder
- 1 tsp salt
- 1 TBSP Sugar
- 2 Cups Chilled Heavy Cream
- 1.Preheat your oven to 400 degrees.
- 2.Combine dry ingredients and mix well.
- 3.Gradually add the cream and mix until combined {sometimes, I use my hands!} But DON'T overmix.
- 4. Drop 1/4 Cup servings on an ungreased cookie sheet.
- 5. Bake until tops are pale and golden. {15-20 minutes}
- Note: I know the time on this is broad, but depending on where you live, and how your oven works, you really need to watch the biscuits. They will be done with you see the top beginning to brown, you can almost smell the done bread smell, you know?
Let me know if you have any questions!
Traci
Share
The post Cream Drop Biscuits appeared first on A Mouse In My Kitchen.
]]>The post Recipe # 8: Eggs-In-Toast appeared first on A Mouse In My Kitchen.
]]>
This is something I have fond memories of making with my dad. It is an easy breakfast-for-dinner meal, or I suppose you could have it for breakfast, too.

 Wait until the other side of the bread is toasted. Remove from the griddle and enjoy!
 The post Recipe # 8: Eggs-In-Toast appeared first on A Mouse In My Kitchen.
]]>The post Recipe #3: Basil Carrots appeared first on A Mouse In My Kitchen.
]]>Before I get started, I just thought you guys might like to know that the mouse is still running rampant in my kitchen. He (or she) took the peanut butter off the trap and survived. So, he (or she) lives to see another day.
Anyway, on to the carrots. The first thing I do is wash and peel the carrots. Peeling them is not essential, but I like them better that way. And I think they cook a little faster. I also cut them up pretty small to increase the cooking speed. Also, the carrots shrink a LOT when you make this. I try and do three or four big carrots per person.

Side note: I have to do a little highlight on my pan. I absolutely love this pan. It is a Lodge Color Skillet, Island Spice Red, 11″
 Anyway, back to the cooking. Heat up your oil until it makes the splashy noise when you flick water onto it. I hope you know what I’m talking about because that was a horrible description. Anyway, once it’s hot, put in your carrots and basil. I don’t measure the basil, I just pour a bunch on it. I don’t really think you can do too much. Fresh basil is better, but if you don’t have it dried basil works fine. Make sure your heat is around mediumish. Cook it for about 20 minutes, stirring every so often. (the longer you cook, the softer they are. My 8 month old really likes these but I have to cook them FOREVER for them to be soft enough for her. Once the carrots are soft, you’re done!
- eight carrots
- three tablespoons olive oil
- three tablespoons basil
- Cut the carrots up small
- Cook the carrots with basil over medium heat in the olive oil for twenty minutes or until the carrots are soft
- Butter can be used instead of olive oil
 Finished Product
 The post Recipe #3: Basil Carrots appeared first on A Mouse In My Kitchen.
]]>