The post How To Make A Drop Cloth Rug {for cheap!} appeared first on A Mouse In My Kitchen.
]]>
We just moved into a new house. We got an awesome deal on it. It’s a rental, and it’s rented out as a two bedroom, because there are two bedrooms upstairs, but, there is a HUGE basement. The problem is that the basement was in pretty bad shape when we moved in. One of the rooms has mold in the ceiling, and all the rooms are super dirty. The family room had previously been used as a recording studio… or something. It had layers and layers of fabric (black) on the walls and a stage in the back of it. The room that should have been a bathroom had been transformed to a recording studio that now has cinder blocks piled into it. It’s considered unfinished, but the walls are in. There is just no carpet and no sheet rock on the ceiling in most of the rooms (with the exception of the room with the mold on the ceiling).
One of the rooms downstairs has my washer and dryer in it. It had no working light fixture and it was SUPER dirty. I wish I would have taken before pictures. I had to keep reminding myself how cheap our rent is.
So the previous renters had done nothing with the basement. We decided that we weren’t okay with that. We have all this space, plus the fact that I have to do laundry down there means I spend a LOT of time in it. I am not okay doing laundry in a dark, musky, smelly (and oh boy did it smell) basement.
So we got to work cleaning it. We bought a light fixture and swept… and swept… and swept. It looked a lot better after just a little bit of time.
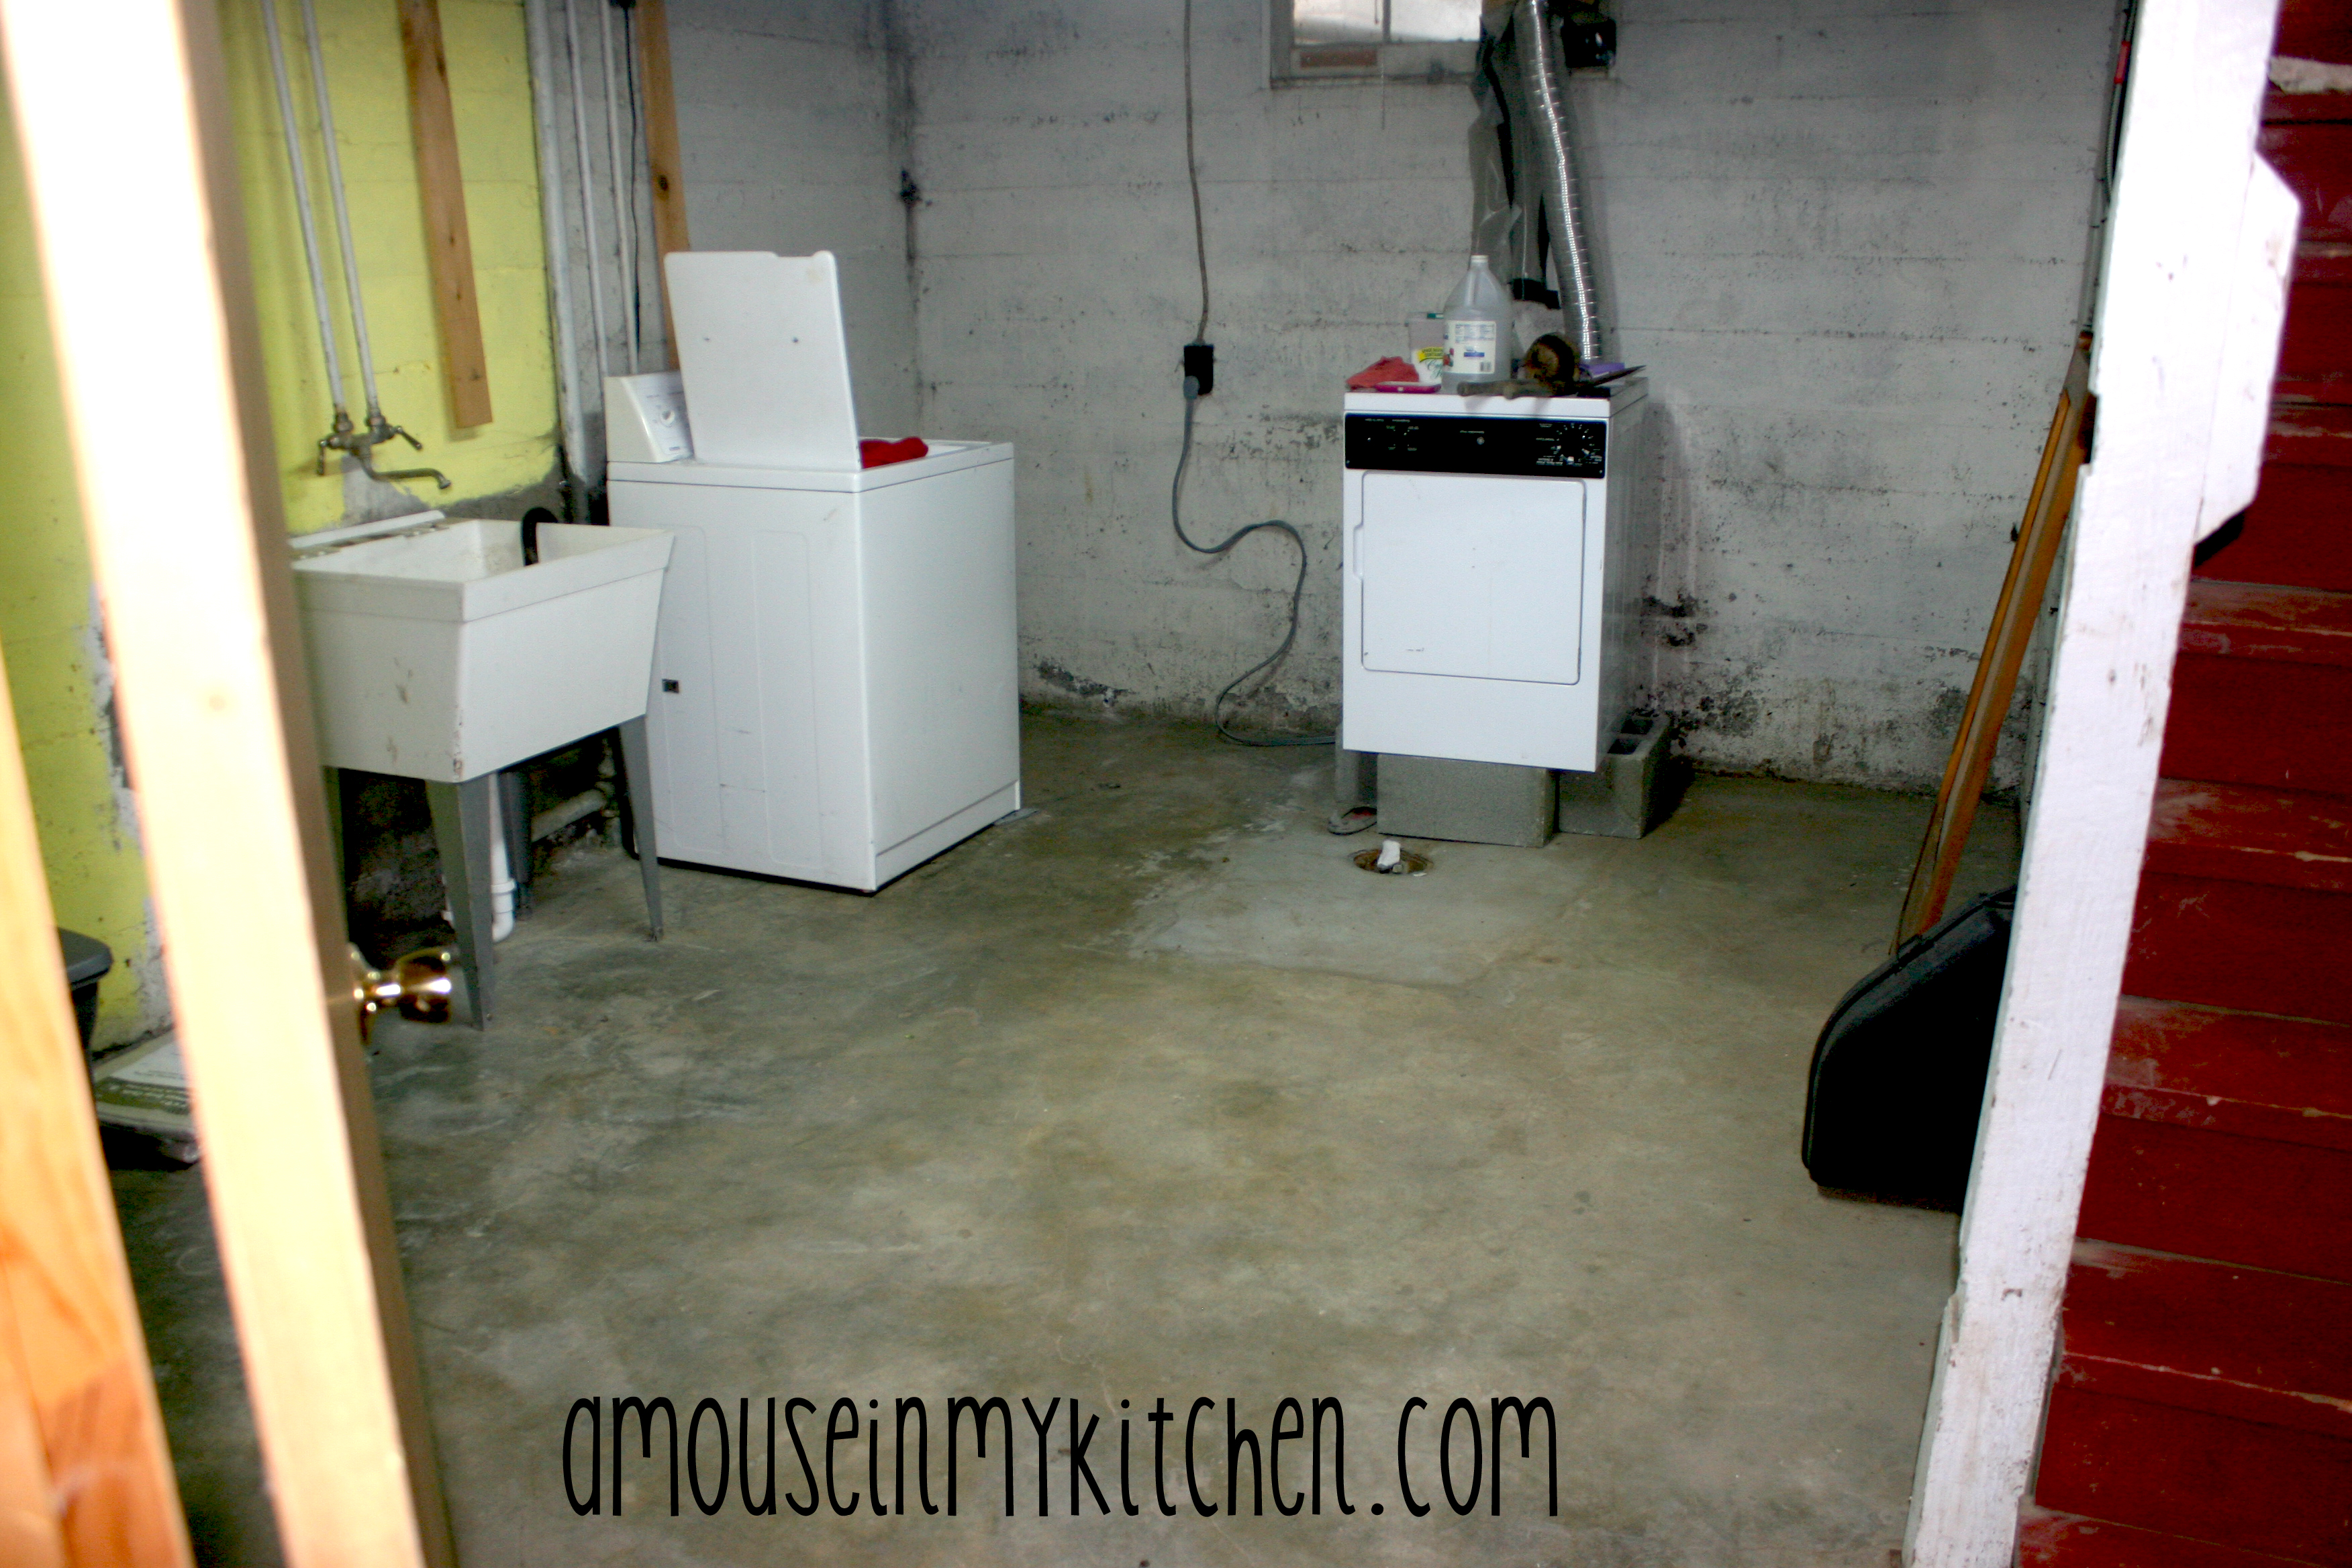
I felt like it was a little bare and that the concrete was a little cold and uninviting. Since I am planning on making that room into a craft room/sewing room, I want it to be pretty! However… I didn’t want to break the bank, so I decided to make a drop cloth rug. I had heard that you could do all sorts of things with drop cloths and I was really excited to test it out.
To make one, you need:
- a painter’s drop cloth
- paint
- a paint brush
- painters tape
So, I went and bought one of these:

I bought this drop cloth for $10 at Home Depot. I wish I would have sprung for the $13 one because it was a little heavier. This one is pretty thin, but it works.
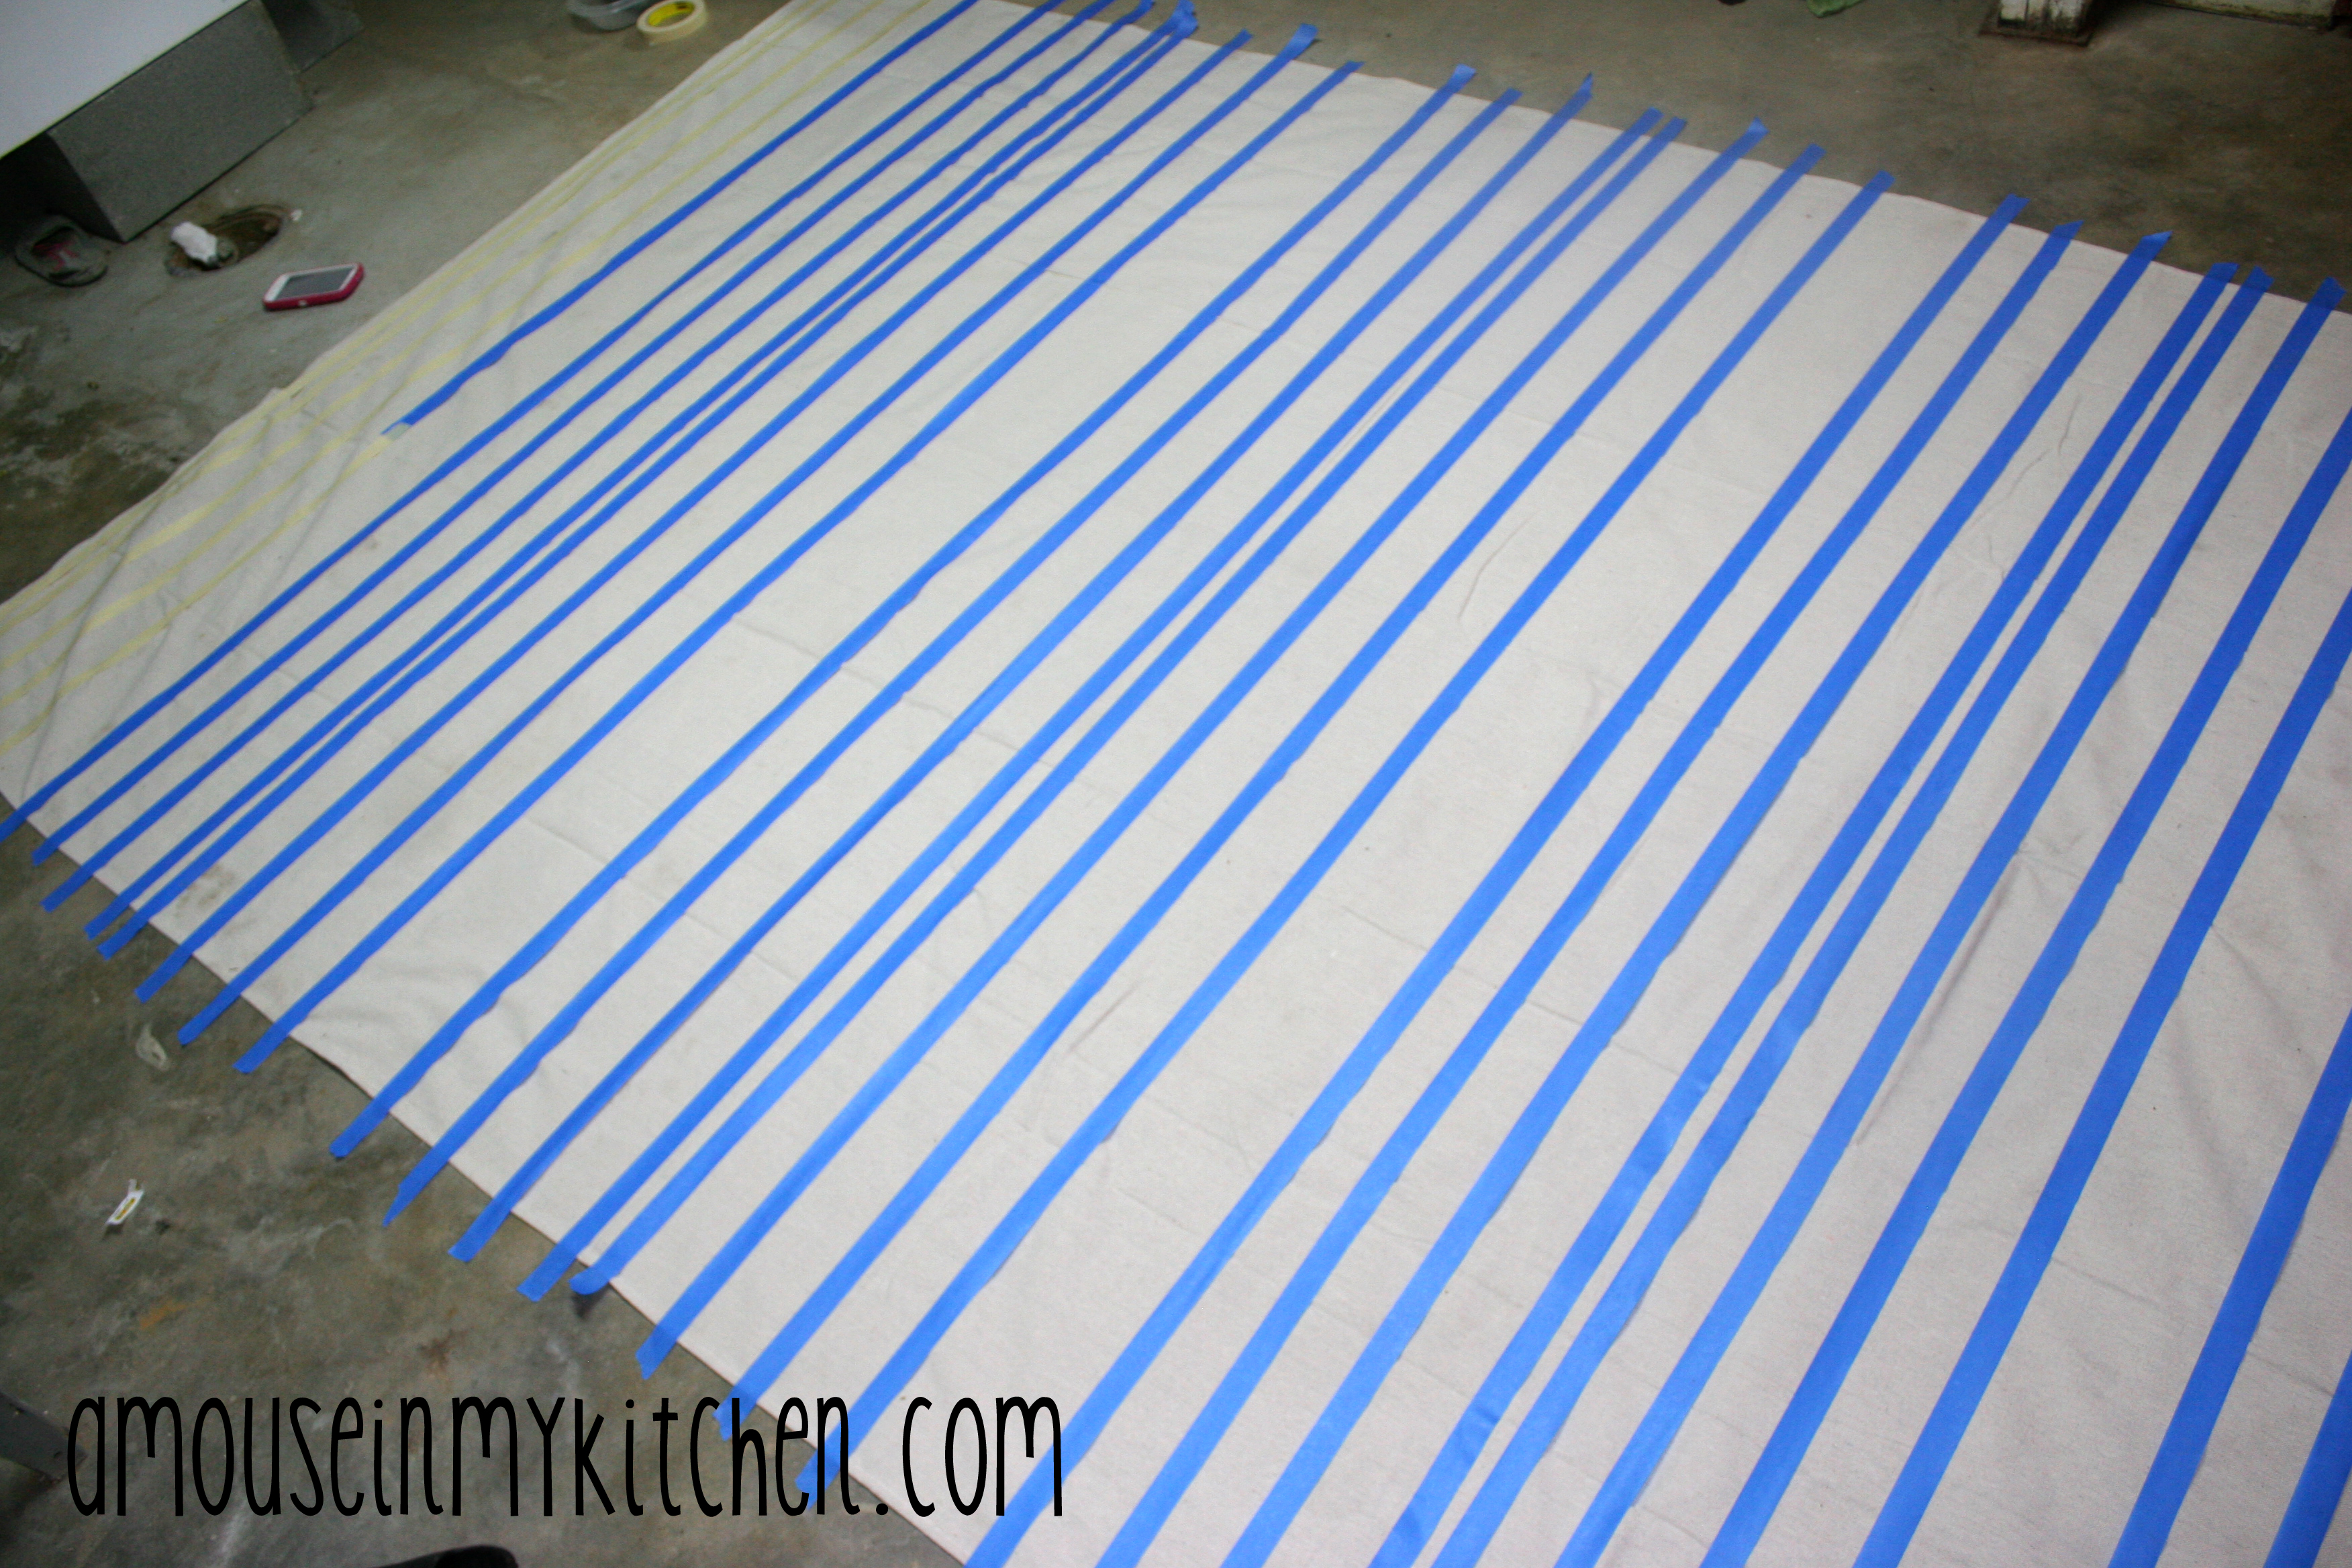
The first thing I did was tape off the pattern. I know this doesn’t look like much of a pattern, but I swear it is. Oh, by the way, I ran out of painters tape at the end and had to use masking tape.. not a good idea. It was way harder to get off.
Once I had my pattern all taped out, I started painting. It only took one coat of paint, and for this pattern I used about 2 pints. I actually got the paint for free awhile ago when Ace Hardware did their free quart of paint day.
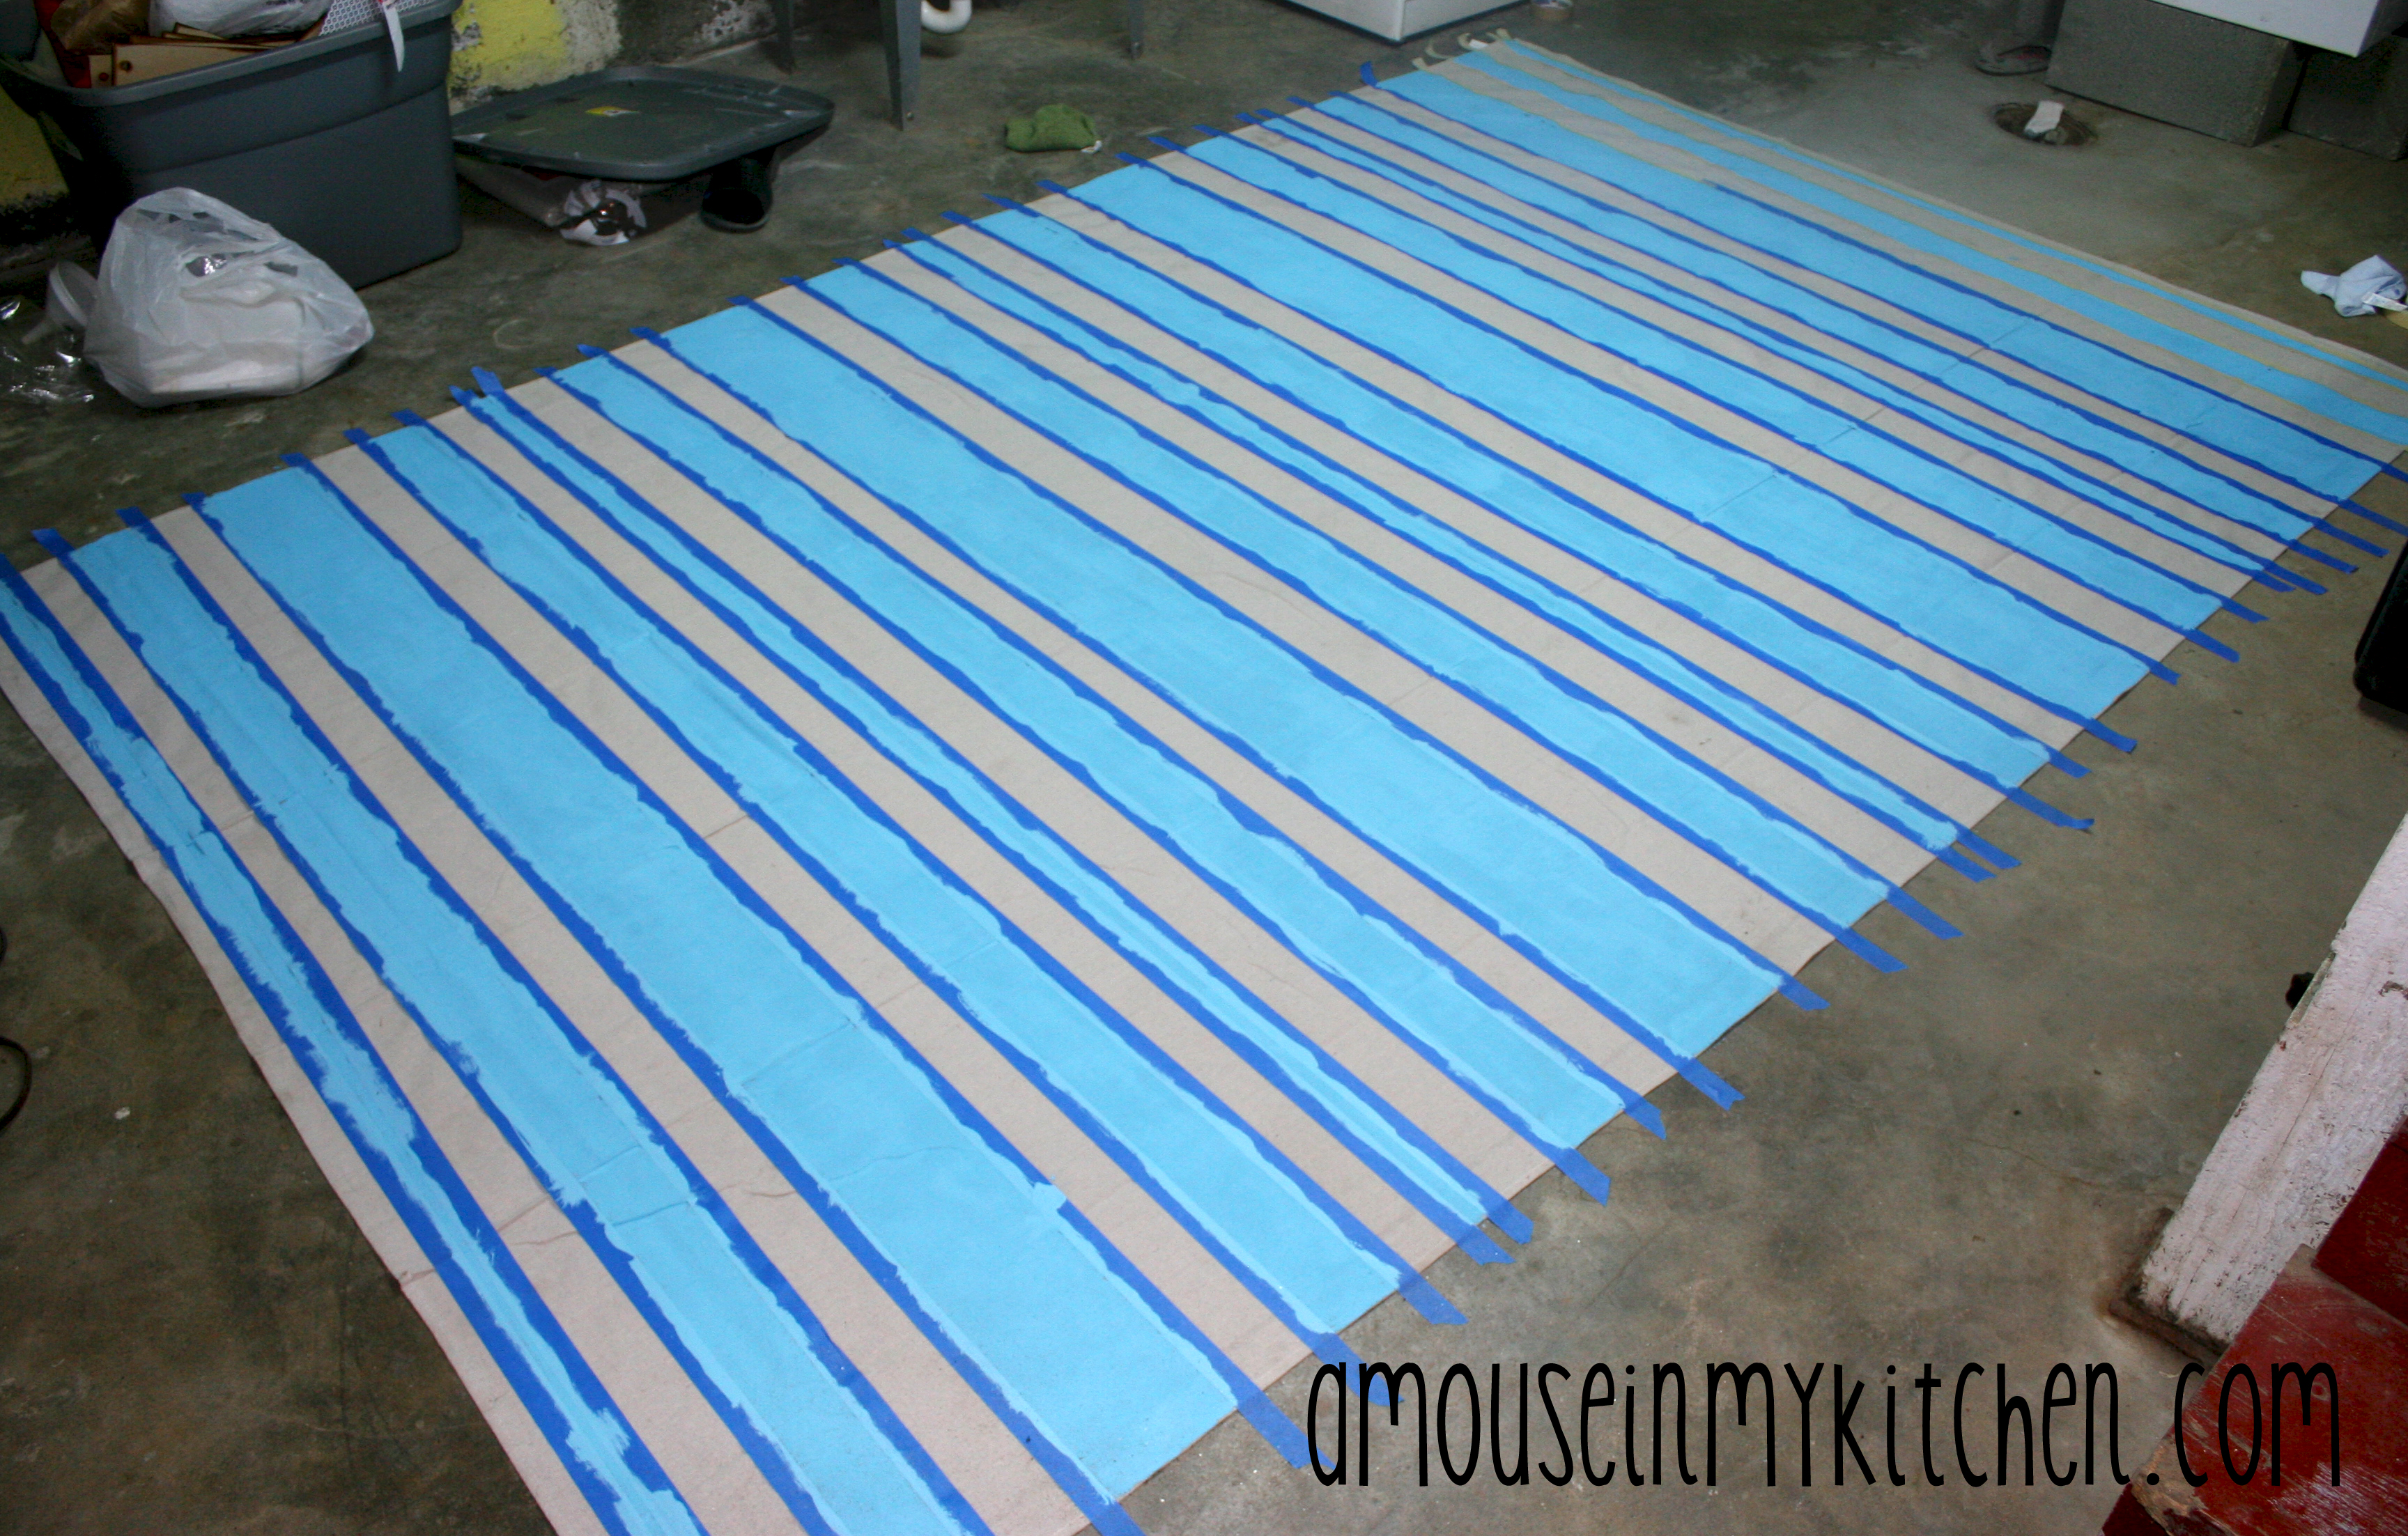
After the paint was dry, I peeled back the tape. Easy enough, right?
I love it because it adds color and it feels better on my feet than the cement. I also love that I only spent $10 on it!
What do you think?

The post How To Make A Drop Cloth Rug {for cheap!} appeared first on A Mouse In My Kitchen.
]]>The post Create a Large Framed Fine Art Print {for under $50 dollars!} appeared first on A Mouse In My Kitchen.
]]>
I am so excited to share this post with you! I really wish I would have taken more pictures for you guys, but you’ll see what I mean as I describe how I did this.
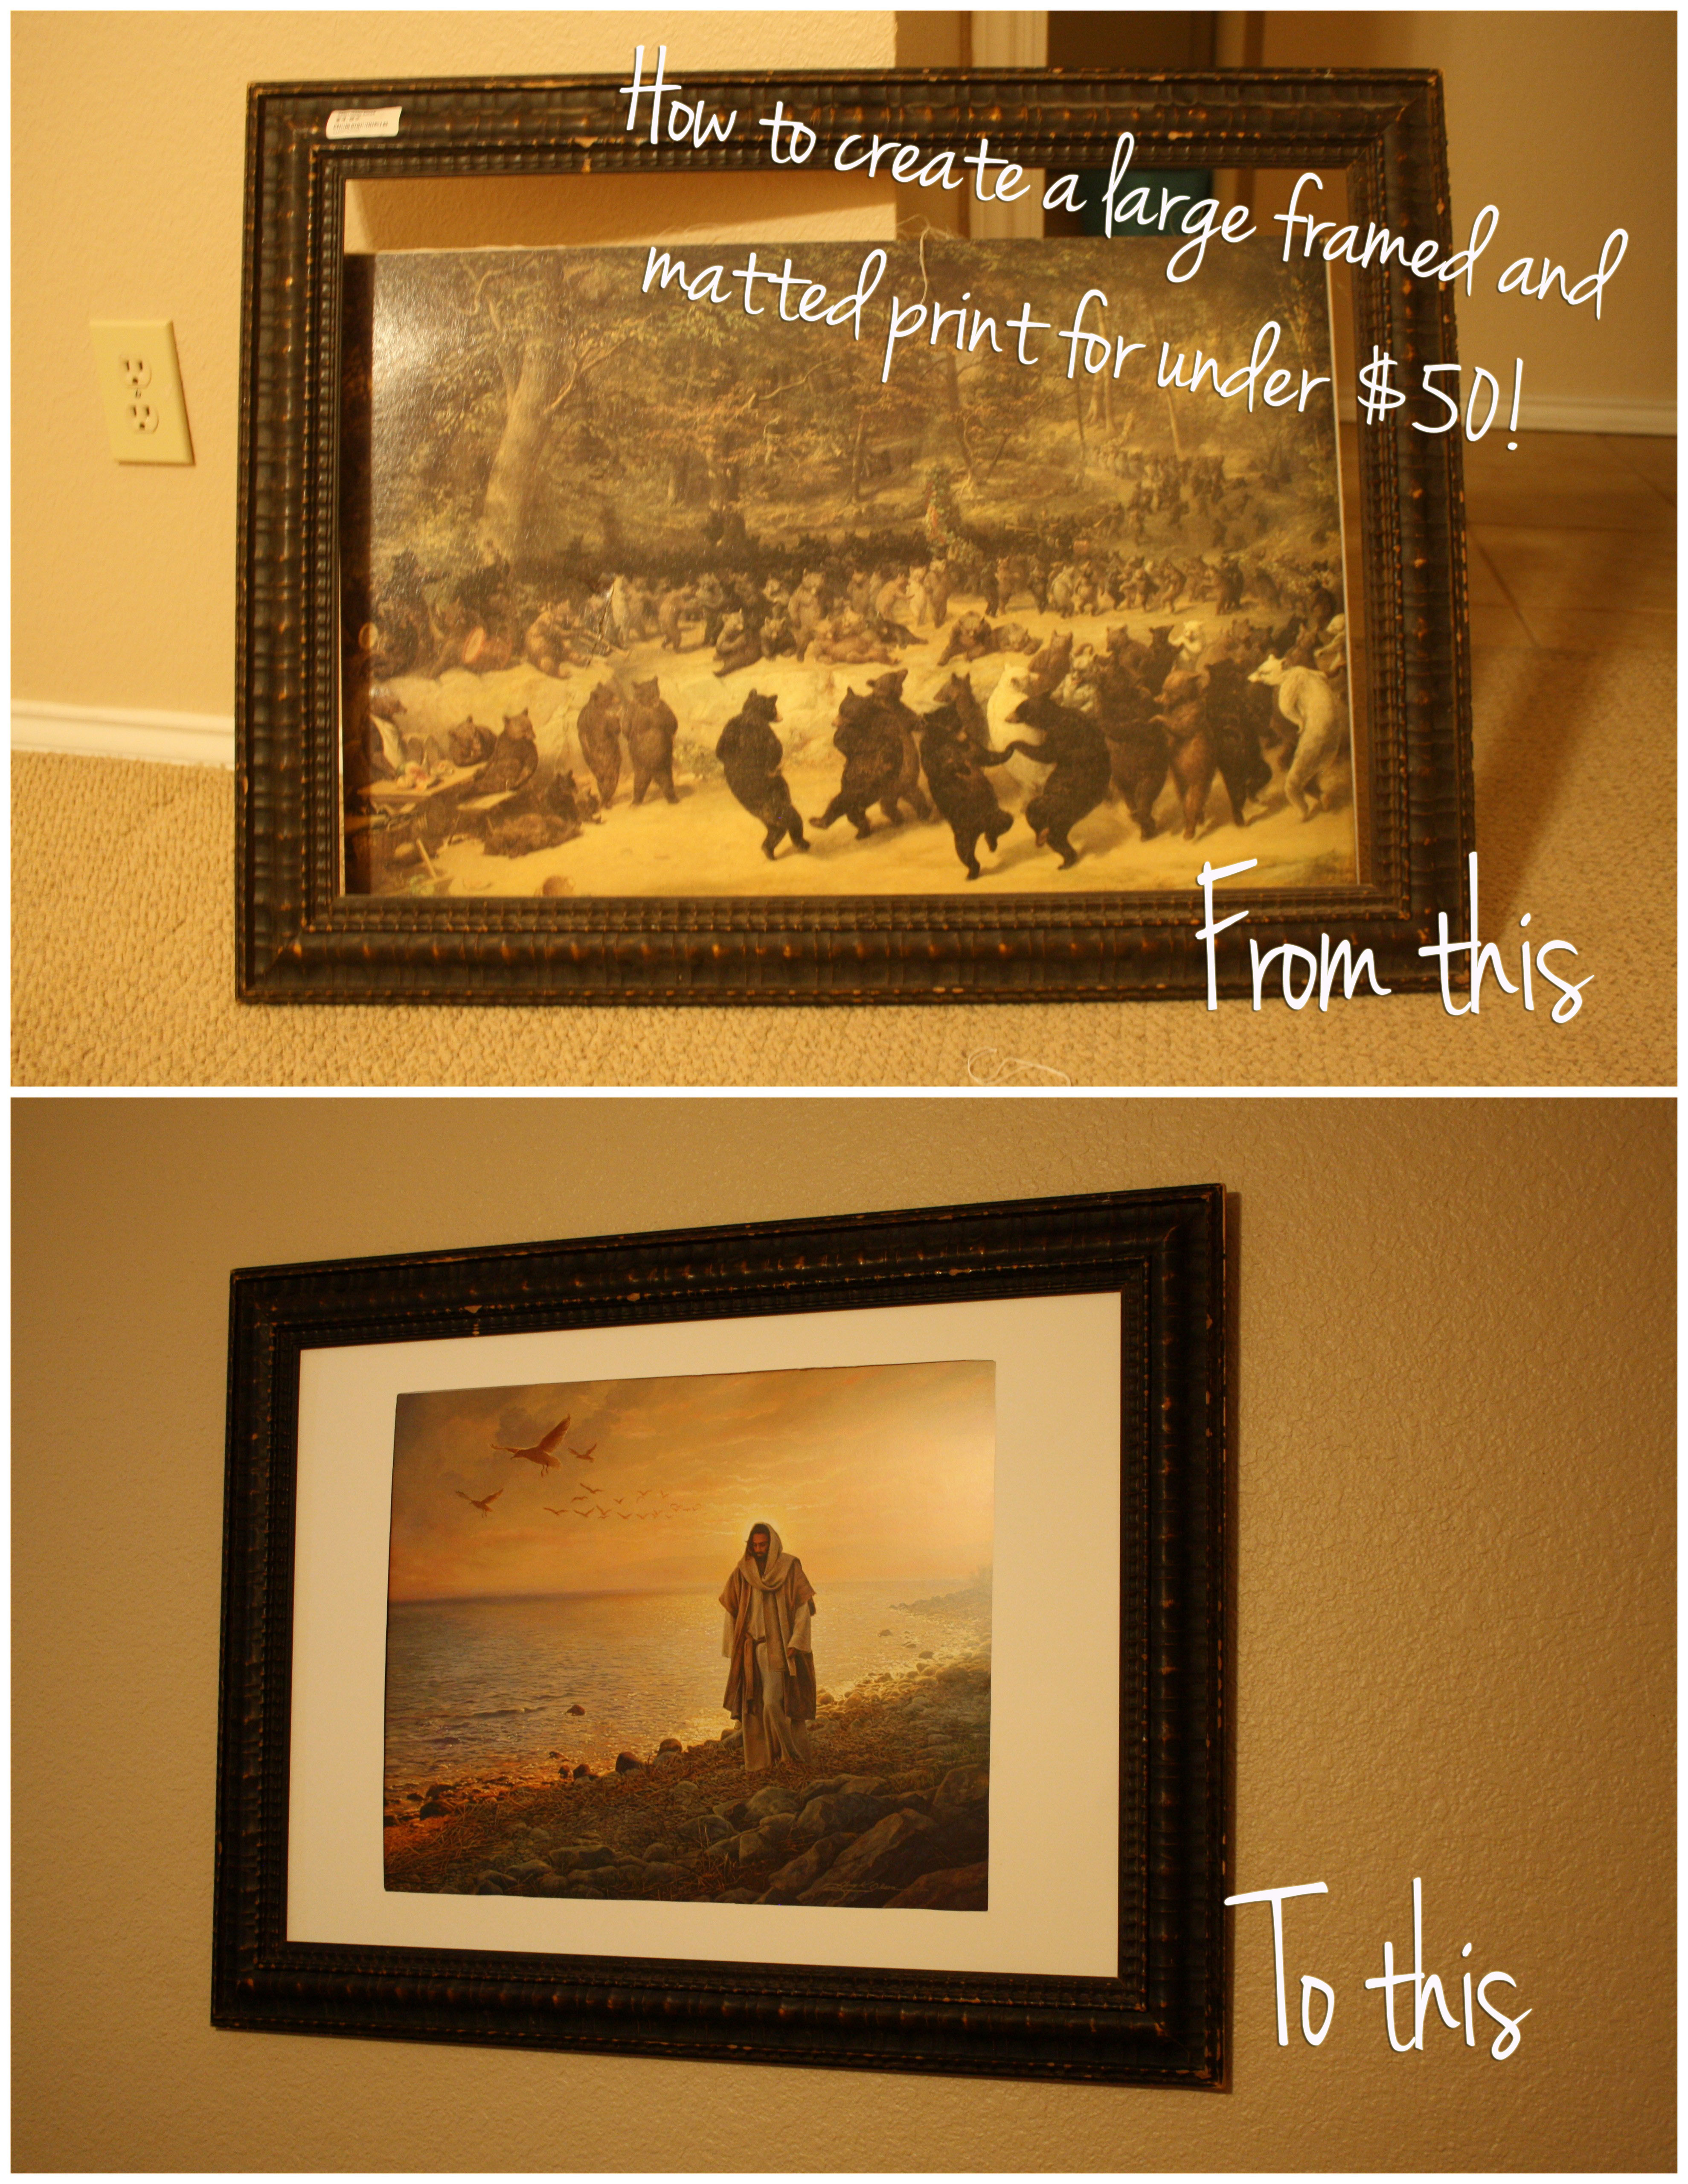
I have really been wanting to purchase a picture of Christ {Framed and Matted} for My husband and My Bedroom. We have a lot of smaller pictures of Christ up, but I really want to have some bigger ones, but they are crazy expensive! A 33×21 Framed Picture of Christ would cost me around0 $300 dollars. Which is not really in our budget right now. So, my husband and I started brainstorming. I decided to head over to Goodwill and a store next to it that is similar called ReStore {they are a lot like goodwill but they have more home things {doors, windows, etc.} I found a huge pile of frames and started digging. This is what I found…
 Sweet, huh?
  I really could not figure out who would hang a bunch of dancing bears in their home, my husband pointed out that it was probably in a cabin, I can see that… maybe.
Anywho! Look at that frame! Super solid, and gorgeous! Plus, it was only $4.95. Can’t beat that!! We ended up just taking the canvas photo out, and wiped the dusty frame down a bit. I actually really liked the kind of worn look, so I didn’t even have to paint it! And the dancing bears went into the trash. Which was quite disappointing for my little girl, she kept getting excited and saying, “DOG!!”
Next step was finding a print. I ended up ordering one online from Greg Olsen. I love his art work of Christ {and no, I am not being paid to say that! } That print was the most expensive part, around $45 dollars for a 16×20 print. I really wanted a nice big one though.
So the picture arrived in the mail, and I was super stoked, it didn’t quite fit though, so I had to figure out how to make or buy a mat. My husband came up with the idea of using a poster board. We went to Target and picked up a $1 thin poster board. We measured out the size of square we needed to cut out for the picture, and used my fabric rotary cutter, and board to cut out the 16×20 print. Then we put it in the frame and just cut a piece of cardboard from the print packaging to help the picture stay in on the back.

Not too shabby, right? If you look REALLY close, the rotary cutter wasn’t great, but you can’t tell at all if you’re not being picky! I ended up spending about $50 dollars even for a 33×25 matted print of Christ. There is no glass, but that doesn’t bother me a bit. Someday I may put some glass in there, but for now, I love it, and love being able to have a beautiful photo of Christ in my bedroom, without spending a fortune.
What do you think? Let me know if you have any questions/thoughts!?
Traci
ShareThe post Create a Large Framed Fine Art Print {for under $50 dollars!} appeared first on A Mouse In My Kitchen.
]]>The post Superhero Mask For Your Little Hero appeared first on A Mouse In My Kitchen.
]]>
In case you haven’t noticed, a lot of our crafts are focused on little boys and their hero obsessions. Both Traci and I were blessed with little boys as our oldest children. Don’t worry, we both had girls second so there will be plenty of girl themed tutorials to come, I’m sure.
A little while ago, I made a superhero cape for my little man. I decided to make the superhero mask to go along with it! This was super cheap and it only took me about 15 minutes. No special tools required, not even a glue gun or a sewing machine.
Here is what you need:

- 1 piece of felt
- scissors
- a needle & thread
- elastic
- measuring tape
- something to mark the felt with (I used a washable dry erase marker.)
So I have to confess that I don’t have a measuring tape right now. It’s in storage, along with my sewing machine. So I used the next best thing – yarn. I just measured my little guy with some yarn and used that as a gage for cutting the pattern.
I measured my guy across his face where the mask would go, lengthwise along his nose, and all the way around his head. The measurements made it easier to make this while he was sleeping.
So I drew the mask onto the felt. I just kind of guessed based on what a superhero masked looked like in my head. Nothing precise here at all. In fact, the first mask I made ended up fitting me… so I made a second one a bit smaller. You can easily make three masks out of one piece of felt, so I felt like it was okay to mess up the first time.

Once I had the mask cut out, I cut some holes for the eyes. Remember that little kid’s eyes are super close together! You might even want to wait until you can hold the mask up to your guys face to cut the eye holes. That way you can be sure they fit.
It’s really nice to have GOOD scissors when you do this. The only scissors I have in my house right now are kitchen scissors. You know the kind that only have about a quarter inch of cutting ability on the blades? Yeah. That was fun.
Once you get the mask all cut out and the eye holes cut out, cut your elastic and sew it on. I just kind of went crazy with the thread. I doubled it up to give it a little more strength and used a matching color so you can’t see it.
Be careful while you’re sewing on the elastic to keep it straight. Mine kept wanting to turn on me.
That’s it! I hope your little superhero enjoys his (or her!) mask!

Share
The post Superhero Mask For Your Little Hero appeared first on A Mouse In My Kitchen.
]]>The post Best Way To Ship Baby Clothes appeared first on A Mouse In My Kitchen.
]]>
My sisters and I all share baby clothes. We have tons of tubs of baby clothes that we pass around to whoever happens to have a baby at the time. There is a tub for 0-3 month boys clothes, 3-6 month boys clothes, 6-12 month boys clothes, etc. The same goes for girls (although I think there may be more than one of each size for the girls… why do girls have SO MANY CLOTHES???)
So, usually we just take the tote over to who ever needs it, but right now I live about eight hours away from my sister, who has a girl about 8 months younger than my little girl. My little one has grown out of the 6 month clothes, and my sister will need them soon, but I’m not planning a trip any time soon, so I had to figure out a way to get them to her. My other sister suggested that I vacuum pack them and ship baby clothes to my sister.
I’ve use the fancy vacuum pack bags before, but I didn’t want to pay for bags, so I decided to try it with a normal garbage bag. It took me a little while to get it right, but it worked!
Supplies needed:
- clothes to mail
- flat rate box from the post office
- hair tie
- vacuum
- garbage bag
Here is what I did:

Gathered all the clothes you want to mail and stuff them into a garbage bag. I tried to fold them the best I could, but I don’t know if it made much of a difference.

Put them inside the flat rate box. I got this box at the post office. The box is free, but it costs $16 to mail. It doesn’t matter how heavy it is, unless you’re mailing it internationally. I think there is a 20 pound weight limit for international mailing, but I doubt it would even get close to that if it’s full of baby clothes.
Put the hair tie around your wrist and get the vacuum ready. Tie the garbage bag as tight as you can. Put the vacuum in the opening and put the hair tie around the bag so that it is sealed to the vacuum tube (I hope that makes sense…)

Turn the vacuum on and watch the bag shrink before your eyes. You’ll need to hold the bag onto the vacuum so no air gets in. You also may need to shape the bag as it shrinks so it will fit into the box.


The post Best Way To Ship Baby Clothes appeared first on A Mouse In My Kitchen.
]]>The post Toddler Suspender Tutorial appeared first on A Mouse In My Kitchen.
]]>
I have a friend who has the cutest little boy you’ve ever seen. I about died when I saw him wearing suspenders a little while. Ever since then, I have been on the hunt for some toddler suspenders. I found some, but didn’t like the pattern. So, I decided to make my own. It only took about 20 minutes and holy cow, they are stinkin’ cute. So, I thought I’d share the tutorial with you guys!

To make these, you need:
Colorful elastic
4 suspender clips
a sewing machine
coordinating thread
If you can, measure your little guy from the front to the back where the suspenders will go. My little guy was asleep, so I guess that 27 inches would be about right. It ended up being way too big, I had to take off about 5 inches.
Cut your elastic about two inches longer than what you measured. Cut two strips that length.
Sew the suspender clips onto each side of each piece of elastic. Make sure that you fold the elastic under so the raw edge isn’t showing, and make sure the suspender clips are facing the right way.

Overlap the suspenders. They should cross about 2/3 of the way down. (think about how suspenders work) Sew them together so that you see a diamond pattern from the sewing machine. Sorry, it’s kind of hard to explain… See the picture.

That’s it! Put them on your little man and take lots of pictures because seriously, he’s a stud.
ShareThe post Toddler Suspender Tutorial appeared first on A Mouse In My Kitchen.
]]>